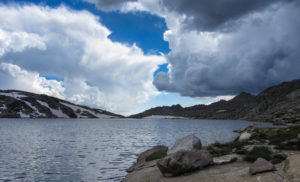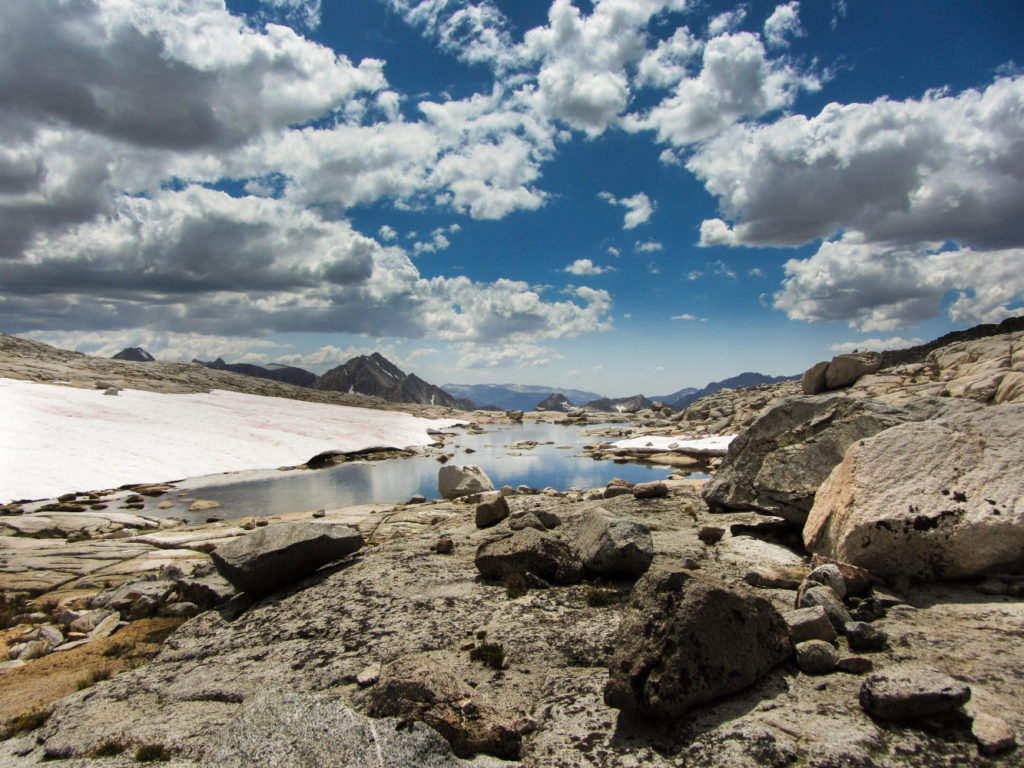
If you ended up here then there is a good chance that you already know something about the Sierra High Route, short SHR. If not or if not enough here is the creator’s introduction shortened:
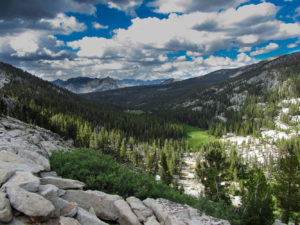
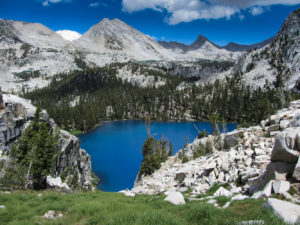
“The timberline country of California’s Sierra Nevada is dominated in summertime by five elements: meadowlands, gnarled trees, water, stone, and a cobalt sky occasionally augmented by towering cumulus clouds. In this austere landscape, backpackers who travel along the Sierra High Route—a rugged alternative to the John Muir Trail—can forget the outside world and concentrate solely on moving cross-country from one pristine campsite to another. Although the popular John Muir Trail (shortened herein to Muir Trail) traverses this fascinating timberline country on occasion, it frequently descends west into heavily forested regions in order to circumvent the great ridges that jut out from the main Sierra crest. These diversions from what I regard as the range’s finest terrain become especially annoying in the northern half of the High Sierra, for here the famed path traverses relatively lackluster country for many miles. It occurred to me twenty years ago that if I scouted the range carefully I might be able to piece together a continuous route that would remain longer in timberline country than does the Muir Trail. Such a route, if feasible, would offer adventurous hikers an opportunity to visit superb country while simultaneously avoiding the multitudes of backpackers who prefer well-marked trails. In subsequent years I explored dozens of cirques and ridges, ending up in more cul-de-sacs than I care to remember. But eventually I evolved a marvelous 195-mile route that remains in close proximity to timberline, avoids major trails whenever possible, and yet requires no particular mountaineering skills. Almost all of what I call the Sierra High Route (most often shortened in this book to High Route) lies between 9,000 and 11,500 feet, that subalpine region fortuitously sandwiched between the dense western-slope forest and the ubiquitous granite blocks of the alpine zone. Backpackers must not regard the High Route as an actual trail except for the sections in which it follows existing paths; the High Route traverses such rocky country that traces of human passage remain virtually undetectable. In this rugged landscape there’s no “correct” route to hike, and each person naturally will choose a slightly different way. Similarly, in the far more fragile meadowlands through which the High Route occasionally passes, so many choices are available that paths are unlikely to be created except at those locations where the terrain forces hikers to funnel into one specific area. Even here, without the destructive hooves of pack animals to create deep trenches, the paths should remain inconspicuous. High Route adventurers will not be put off by the lack of an actual trail, since much of the singular joy of cross-country travel lies in wandering through the timberline country as the pioneers did—wondering what the next turn will reveal. Maintaining the pristine, tailless character of the High Route requires a conscious effort on the part of backpackers, and later in this introduction I discuss methods of preserving the fragile landscape.”
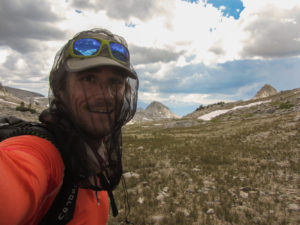
Steve Roper Himself
Steve Roper has pieced together a combination of JMT sections, minor unmaintained trails and a good chunk of off trail travel to create a route that traverses a good part of the Sierra Nevada south to north while staying above 10000 feet as much as possible.
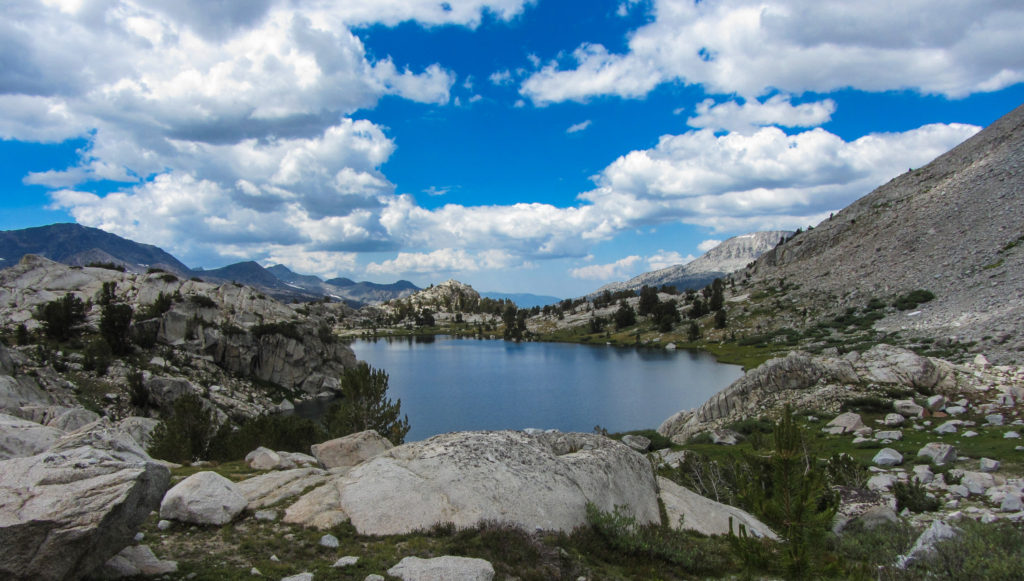
I had heard of the SHR in the beginning of 2017 and thought it an excellent idea. Whilst I knew not many people would be down to hike and scramble for two weeks to cover 200+ miles and over 63 000 ft. elevation gain, I early on played with the idea in my head to do the sierra high route in the summer and on top to do it by myself.
After having completed a little bit of an extended version of the SHR in 12 days I think the hardest part of the whole trip was taking the first step out onto the trail.
Yes, the physical challenges were large, the mental challenges (which mainly consisted of doubts about certain route sections) were big, I got scared by bears and woken up by coyotes howling at night but I never thought about quitting once I was on the trail.
All in all, the Sierra High Route is one hell of a trip. It demands physical preparedness, good route finding skills and a strong mind and will reward you with mountain solitude, natural beauty and a wonderful feeling of achievement hour after hour, day by day.
Bottom Line:
Probably the best continuously long trip you can do in the Sierras. It is though at times and full of challenges but serves everything that backpacking has to offer.
5 Crucial Things:
- Keep your gear and your food light; Lots of up and down on this trip.
- Prepare your maps and know how to use them; Navigation is a major difficulty here.
- Due to the long duration you should account for a rise in your caloric burn when planning your food.
- Resupply and days estimate; Red’s Meadow is basically no detour and it will safe you lots of weight if you send half your food ahead.
- Keep a positive mindset. Many of the passes on this trip look really hard if not impossible from afar; Remember that none of them are much harder than class 2 and that many people have done it before you.
What to expect:
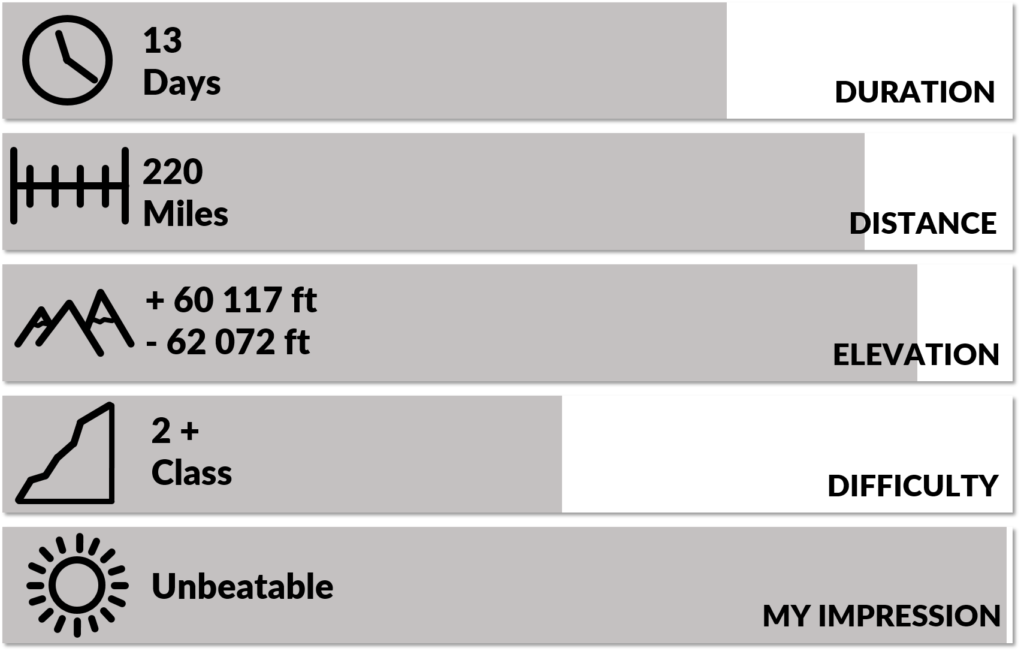
The Sierra High Route traverses the Sierra Nevada Mountain Range from South to North or vice versa. The route tries to stay above 10,000 ft as much as possible. It utilizes some secondary trails and a few major trails but it mainly travels through off trail terrain.
Taking into account the distance, the elevation gain, the altitude, the off trail navigation and the terrain character most people will consider the SHR as challenging to very challenging.
The average duration is probably around 15 days
The SHR is officially 195 miles but it might actually be more.
The climbing accounts to around 59,000 ft.
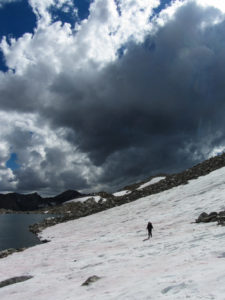
Terrain: A lot of talus, lots of up- and downhill, some hiking on snow (depending on the previous winter), sometimes you will get your feet wet, some tricky navigation through wooded areas, few trail sections.
Navigation: I was able to navigate the whole route without the help of a GPS device (I carried one for safety). However, here is summary of what I found tricky and where I made some mistakes: Navigational Breakdown
Solitude & Scenery: The extended off trail travel of the SHR makes for a lot of solitude. You can go for days without seeing any other person. This together with the immensely beautiful landscape makes for a sublime backcountry experience.
Preparations:
An extended backpacking adventure as the Sierra High Route definitely needs some good preparations. Or at least you might think so.
Here is what I think is crucial to a successful trip:
- Prepare your maps! This includes everything you will need to find the way.
- Buy or acquire Steve Roper’s Book and read it. (The history part is good too)
- Buy or download a mapset.
- Andrew Skurka sells one on his website
- Or you can download a tabloid map set for free from onthetrail.org
- There are several tracks for the SHR on caltopo.com that you can print.
However you go about it I recommend you’ll have a set of physical maps with your route drawn or printed into. Be aware that all the tracks form other people, even the one from Andrew Skurka represent their lines and the way they went. Sometimes they may not follow the actual Sierra High Route and may go over a different pass (I recommend double checking for Nancy pass). Another thing I suggest is that you read Ropers descriptions and draw the according lines into your maps yourself.
- Prepare Ropers description for “Take-Away”
It does make sense to have some or all of Ropers description with you while you are out there. Some of the descriptions are really golden when route-finding becomes tricky. You can either cut the back of the book and take the actual pages you need (leave the ones you don’t need at home) or if you are trusting your batteries you may take digital copies. - Obviously all the navigating can be done on some sort of GPS if this is your thing. It isn’t for me and I don’t mean to discuss the advantages and disadvantages of a GPS here.
- Make a gameplan!
Estimate the days you will need and pack your food accordingly. If you do not have enough experiences on your own, try to find several itineraries online to get a feel what other people did. - Keep your gear and your food light!
I am highly recommending Mike Clelland’s Ultralight Tips. It has everything you need to know about a light gear setup and excellent suggestions on food amounts. A light pack is key to the physical challenges of the SHR
I found this Caltopo Map to be pretty accurate and helpful. Be aware though this is not an official map!
Logistics and Regulations:
Start/Finish
South: King’s Canyon/Road’s End
North: Twin Lakes/Mono Village
Direction
Major direction is south to north which also worked better with my logistics, southbound will work as fine I guess.
Getting to and from
The two trail-heads are on the opposite side of the Sierras which makes the logistics a bit difficult. I parked my car at the Onion’s Valley trail-head near Independence and hiked over to the actual start of the SHR. This added about 22 miles but it allowed me to hitch a ride from the northers terminus to Bridgeport where I was able to hop on the Eastern Sierra Transit Bus back to Independence. Another quick hitch put me back to my car.
Permits and Bears
You do need only one permit for the whole trip!
You get it for your trail-head and you can either reserve it beforehand or gamble a little and just get it the day you start hiking. There are sections which require a hard sided bear canister (mainly Yosemite).
Resupply
If you can do the whole thing with one resupply, then Red’s Meadow will work best. It’s easy and fairly cheap to have them pick up your package and store it till you come pick it up.
Click here, for the link to their website.
If you want or need more resupplies, hiking out to Bishop over Bishop Pass and/or Tuolumne Meadows are options.
Safety
Mainly for the reason that I’d be out there by myself I took a satellite safety device that allowed me to call for help if needed. I never possessed one and again only borrowed one but I think for a long solo trip like the SHR it makes some good sense. Think about your mom!
Links full of Info
Maps and profile (Careful, be aware that this isn’t an official trek): http://onthetrail.org/trekking/shr/
Fastest Known Time Trip Report: https://pantilat.wordpress.com/2016/08/14/sierra-high-route/
Another Fast and Good Trip Report: https://www.brianlucido.com/ropers-sierra-high-route/
Good Trip Report on Backpacking Light: https://backpackinglight.com/forums/topic/68276/
Andrew Skurka, always a reliable source: https://andrewskurka.com/adventures/sierra-high-route/
Nice trip report and very nice video: https://austinlillywhite.wordpress.com/trip-reports/trip-report/
THE book, try to buy used: https://www.mountaineers.org/
Gear and Food:
I used all the items I had with me on this trip. There are a few items I wouldn’t have needed and still been comfortable and safe.
Although I went in late August/ early September it was really warm. So I used the fleece mainly as a pillow at night. Same for the liner gloves and even the beanie I could have done without.
Except the fleece I consider most everything I had crucial and necessary for a successful trip. Most items are not the top notch ultralight stuff but they are fairly light and I ended up with a base weight of around 12 lb.
I used the satellite device only to send messages to friends and family to let them know I was ok. During the day it was turned off and I didn’t need it for navigation. Still I consider it a crucial item when doing the SHR solo.

| GEAR LIST | |
| Items worn: | |
| Headwear | OR Sunrunners Cap w/o flap |
| Eyewear | Julbos |
| Bandana | Synthetic from Korea |
| Shirt | Merino Lycra Blend from Quechua Decathlon |
| Underwear | 100% Merino from COMAZO |
| Socks | Fitsok |
| Gaiters | Dirty Girl Gaiters |
| Watch | Polar V800 |
| Shoes | La Sportiva Ultra Raptor |
| Clothing carried: | |
| Rain Jacket | REI Ryholite |
| Fleece | Patagonia R1 |
| Insulated Jacket | Mountain Hardwear Ghost Whisperer Hoody |
| 2nd Pair of Socks | Wrightsocks |
| Gloves | REI Merino Liner Gloves |
| Beanie | GONSO Cycling Cap |
| Packing: | |
| Backpack | Osprey Exos 48 |
| Waterproofing | Glad trash compactor bag |
| Bearproofing | Ursak All White |
| Foodbag | Loksak |
| Stuffsacks | For sleeping bag, mattress, tarp |
| Ziplocks | for daytime food, first aid, repair kit, guide book, toothbrush, … |
| Shelter: | |
| Tarp or Tent | MLD Grace Tarp Duo |
| Stakes | 6x MSR groundhog |
| Bivy | Borah Gear Ultralight side zipper |
| Mattress | ThermARest Neoair |
| Sleeping Bag | REI Igneo |
| Kitchen: | |
| Stove | Zelph Stove Starlight |
| Windscreen | Self-Made Caldera |
| Pot | Evernew 900ml Ultralight Ti |
| Fuel Container | 500ml Coke Bottle |
| Fuel Measuring | 1 oz. measuring cup |
| Spoon | JetBoil extendable |
| Ignition | Mini Bic |
| Waterbottle1 | Platypus 1l |
| Waterbottle2 | Smart Water 1l |
| Water Treatment | Aquamira Drops setup with 3 Bottles |
| Navigation | |
| Maps | Tabloid printed set |
| Map Sleeve | Zip-Lock Bag |
| Compass | Silva |
| Guide Book | Ropers Description cut |
| Safety, etc.: | |
| Hygene1 | Hand sanitizer |
| Hygene2 | Dr. Bronners soap |
| Tooth care | Foldable Toothbrush plus Toothpaste Dots |
| First Aid | Little self-made kit |
| Toilette Paper | as needed |
| Repair Kit | Tape, medical Tape, |
| Headlamp | Petzl MicroLight |
| Permit | piece of paper |
| Satellite Safety Device | Delorme (Garmin) inReach Explorer |
| Phone | Iphone 5s |
| Wallet | ZipLock bag with a little cash and one card |
| Lip Balm | Lanolin from New Zealand |
| Sunscreen | Powder Sunscreen from Costco |
| Mosquito Head Net | Sea to Summit Mosquito Head Net |
| Mosquito Spray | Sawyer Fisherman’s Spray |
| Foot care | Hiker’s Goo |
| Knife | Swiss Knife Mini |
Depending on the season and the snow conditions you might want to ad micro spikes and an ice axe to your gear. 2016/17 was a record winter and most people that I met on the high route had both. I could have used it but never needed it. When the snow was too steep or icy to safely walk on I always found a line on solid ground.
In general, I would say you do not need ice axe and micro spikes in the sierras after mid-August.
I had not packed mosquito protection until the last second and I am really glad the ranger who issued me my permit mentioned that THEY are still out there. I would have been miserable without.
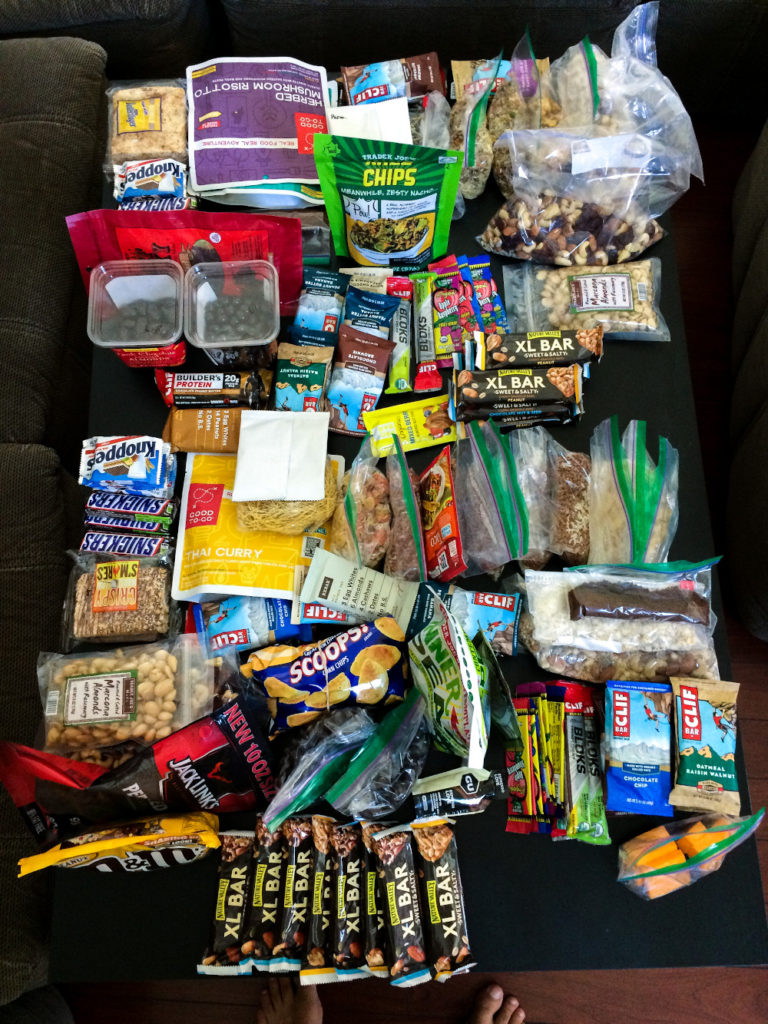
Itinerary:
I was able to finish two days faster then what I had conservatively estimated. This gave my some extra food towards the end which I gladly enjoyed.
This was the itinerary how it turned out. I am doubtful about the numbers and they should only be used as estimates.
| Day: | Start: | Finish: | Distance [miles] | Elevation + [feet] | Elevation – [feet] |
| 1 | Onion Valley | Bubbs Creek (4 mi in fr. Road’s End) | 16.8 | 2754 | 5698 |
| 2 | Bubbs Creek | Lower State Lake | 17.5 | 7714 | 3648 |
| 3 | Lower State Lake | Lake below Frozen Lake Pass | 10.5 | 4324 | 2873 |
| 4 | Lake below F. L. Pass | Le Conte Ranger Station | 16.5 | 4309 | 7255 |
| 5 | Le Conte Ranger Stat. | Lake below Snow Tongue Pass | 16.5 | 4813 | 1933 |
| 6 | Lake below S. T. Pass | La Salle Lake | 12.5 | 3632 | 3693 |
| 7 | La Salle Lake | Laurel Lake | 16.3 | 5012 | 6223 |
| 8 | Laurel Lake | High on Mammoth Crest | 16.3 | 5630 | 5271 |
| 9 | Mammoth Crest | Iceberg Lake | 16.8 | 4685 | 5522 |
| 10 | Iceberg Lake | Blue Lake | 11.2 | 4983 | 4333 |
| 11 | Blue Lake | Tuolumne Meadows | 21.0 | 4069 | 5979 |
| 12 | Tuolumne Meadows | Soldier Lake | 17.6 | 6695 | 4560 |
| 13 | Soldier Lake | Mono Village, Twin Lakes | 8.2 | 1497 | 5084 |
Day 1, Sunday 20st of August 2017:
Onion Valley Trail Head -> Bubbs Creek (4 mi in from Road’s End)
16.8 mi +2754 -5698 ft

View onto Kearsage Lakes
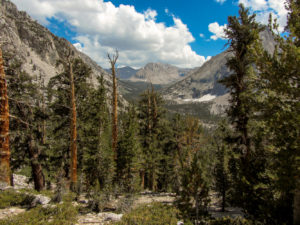
View up Bubbs Creek with Center Peak in the middle
The first day of the trip began in my bed at home in southern California and it was probably the hardest part of it all. Doubts about the whole trip had crept up on my over the last few days of preparations. There were so many unknowns in my whole setup. I had gotten a good chunk of new lighter gear for this trip and because I had only come back from New Zealand less than a week before my start I hadn’t even properly tested some of the things. I was also questioning things like physical ability, my route finding skills and general planning of a backcountry trip. There was really no need for that because I had proven all those skills to myself many a time before but I guess that’s how it goes with that.
Anyway, I think getting out of the house and onto the trail was the toughest part of my whole Sierra High Route (SHR) trip.
I must have left the house too late because once I got to Lone Pine where I still needed to secure a wilderness permit, the lottery they have for applicants was already done. So I got in line and was hoping that Onion Valley wasn’t too popular on a Sunday. Eventually everything worked out and Frank who issued my permit mentioned that there were still a lot of mosquitoes out there. Golden information that made me stock up my gear with a head net and some repellent. In retrospect: Thank you Frank!
I eventually started hiking around 10:30 before I had made sure, that there was nothing smelly in my car due to high bear activity.
The rest of the day was mostly uneventful. Weather was nice, I felt in good shape and the going on the trail, over Kearsage Pass and down into Bubb’s Creek was straight forward. Around 5 p.m. the skies clouded up so it felt like it was getting dark early and I got tired. Well this sleepiness didn’t last long cause suddenly I got company on the otherwise pretty empty trail. About 100 feet in front of me a beautiful “brown” black bear walked up the trail. I immediately got my camera out and took a quick picture. Only then I noticed that this bear was a mama and had here little cub right there with here. I put the camera away clapped my hands and tried to make as much noise as possible so they should be aware of me. Either bears don’t hear very well or they simple don’t care anymore but those two just kept walking towards me. I increased my noise level and eventually they would move off the trail and into the brush. You might think that’s what I wanted but honestly I felt better while I could still see them. I just stood there hoping to glimpse them through the thicket still clapping my hands. Then suddenly right in front of me the bushes started to shake and rustle and before I even could react a brown, bear sized animal shoot of the brush and right at me. Damn it!
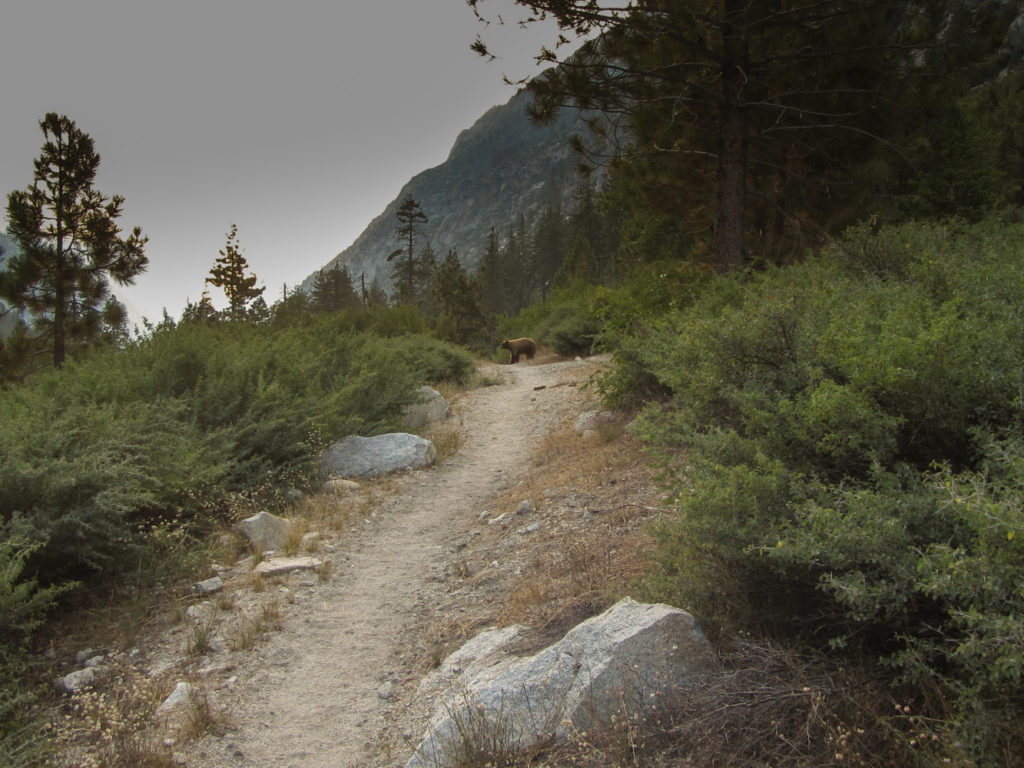
It was a deer. It must have sat low in the brush scared by my clapping. When the bear past behind, it probably got even more scared by the bear and could only go my way and jumped right onto the trail. It then ran in circles like at a rodeo in front of me and I had to back off because I was now worrying that the deer would just madly run me over. After I took a few steps back the deer stopped circling and went with big leaps off into the brush. I watched it appear in and out of the bushes while it went away. With a pulse of probably more than 180 bpm I started down the trail and saw the bears no more.
After whistling and clapping down the trail for another hour or so I stopped at large campsite where two guys had already put up their tents. I joined them when they lit a little campfire and gladly called it a day.
Day 2, Monday 21st of August 2017:
Bubb’s Creek -> Lower State Lakes
17.5 mi +7714 -3648 ft
I was pretty anxious and nervous when I got to the point where you have to leave the Copper Creek Trail and head cross country towards Grouse Lake. It is here where you start the adventurous part of the SHR. Route finding and navigating turned out not too hard on this first off trail section towards Grouse Lake, Grouse Lake Pass and over Goat Crest Saddle and I made good time. The descent from here turned out to be a little tricky but also fun and fast. Large snowfields had lingered on the northwest side of the pass. So I used every chance to glissade. Always being careful and aware that I didn’t have an ice axe to stop myself if I lost control.
I had hoped to get somewhere near Glacier Lakes today which meant that in addition to the initial 600-foot climb, I had to cross two off trail passes. By the time I got there it was surprisingly still pretty early and I still felt good. So I just kept going and had no problem making my way down over tilted granite slabs towards the State Lakes. The beginning of the State Lakes Trail was a little bit hard to find but that too eventually worked out.
Mosquitoes
View into Glacier Valley
I dragged myself the last miles up the trail and was pretty whacked by the time I got to the first State Lake. Unfortunately, the area was mosquito infested and all the green and trees made me suspicious about nightly visitors in bear form, especially after yesterdays encounters. After taking a break I geared up for the mosquitoes and found a good branch for my bear hang. Eventually no bears came to visit but I had suffered a s*@# ton bug bites just above my butt. My rain jacket doesn’t cover that area when I lean over. After all a good second day.
Day 3, Tuesday 22nd of August 2017:
Lower State Lakes -> Lake below Frozen Lake Pass
10.5 mi +4324 -2873 ft
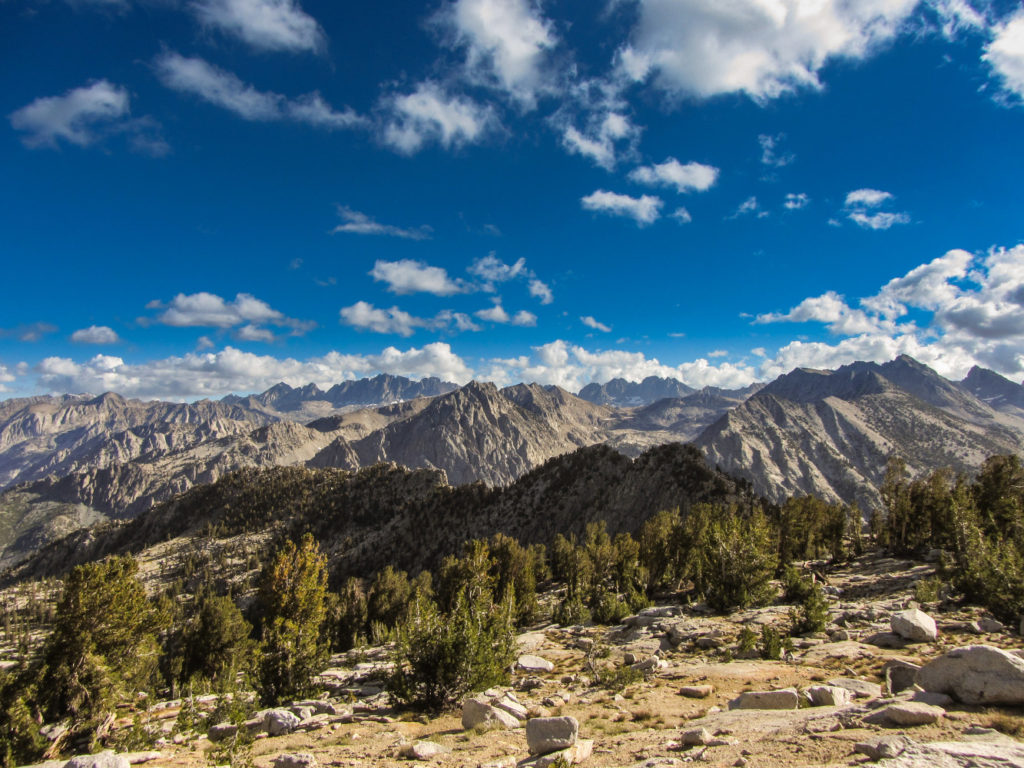
Yesterday must have been a hard day because it took me forever to get ready that morning. Once I was off I was able to follow a faint trail which disappeared near the upper State Lakes. From here the description says that the trail fades and that you just need to keep going until you find the Horseshoe Lakes trail. In general, I think finding trails when you come from an off trail section is one of the more frustrating parts off cross country travel. So it took me a minute and walking through some wet dewy grass to get onto the Horseshoe Lakes trail. The rest of the morning was beautiful and the terrain towards and up Windy Ridge is blissful and you basically just follow your compass.
The south fork of the cartridge creek really does not see many people and so the area really feels remote and natural. While this whole section wasn’t super easy in terms of route finding I made good progress and found myself working up white pass before noon. Once I got near the top I noticed a black figure at the top of the pass. My oxygen deprived brain probably didn’t really know what to make of it so it took me a while to notice that it was another hiker. I met him at the pass where he took a break. His name was Antoine and he was doing the first section of the high route. It was great to have some company and we shared the path for the rest of the day which consisted of good glissading down Red Pass and a long and beautiful walk through Lake Basin and up towards Frozen Lake Pass.
Marion Lake
Below Frozen Lake Pass
When we identified Frozen Lake Pass from afar we were positive that we had enough daylight and strength to make it over today but by the time (4 p.m.) we had gotten to the base of the pass and started scrambling up we decided that we were too tired and that we better tackle it together in the morning. Roper describes Frozen Lake Pass as one of the two or three most difficult passes on the entire route. We actually found a really neat spot and settled in for the night.
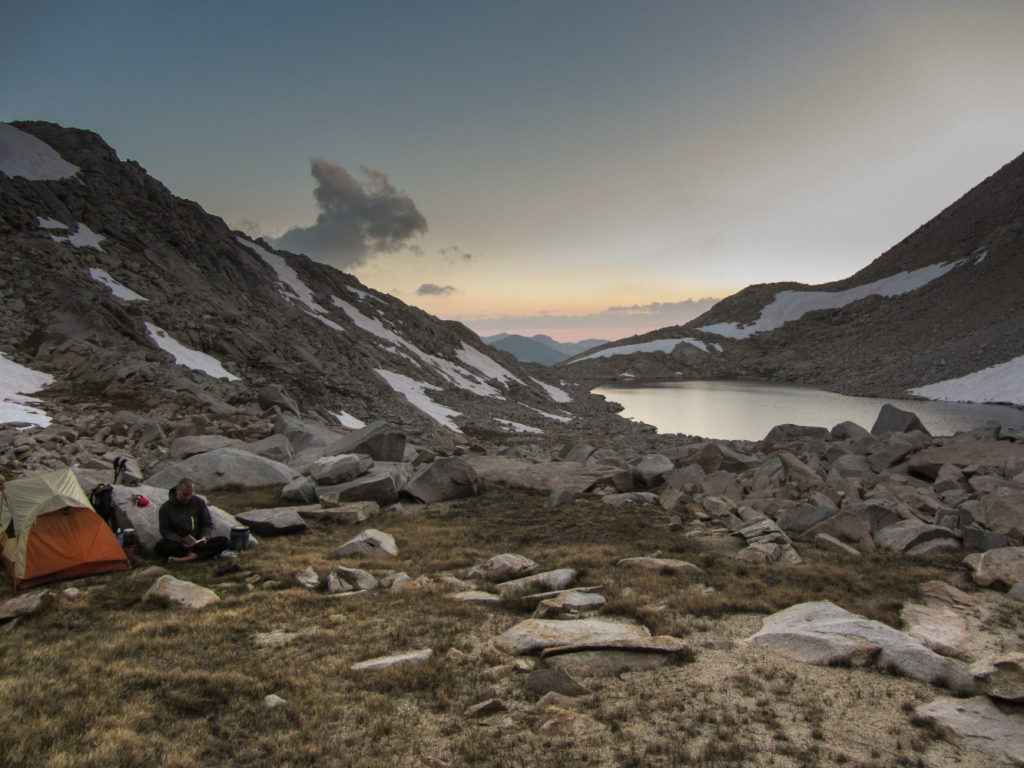
Day 4, Wednesday 23rd of August 2017:
Lake below Frozen Lake Pass -> Le Conte Ranger Station
16.5 mi +4309 -7255 ft
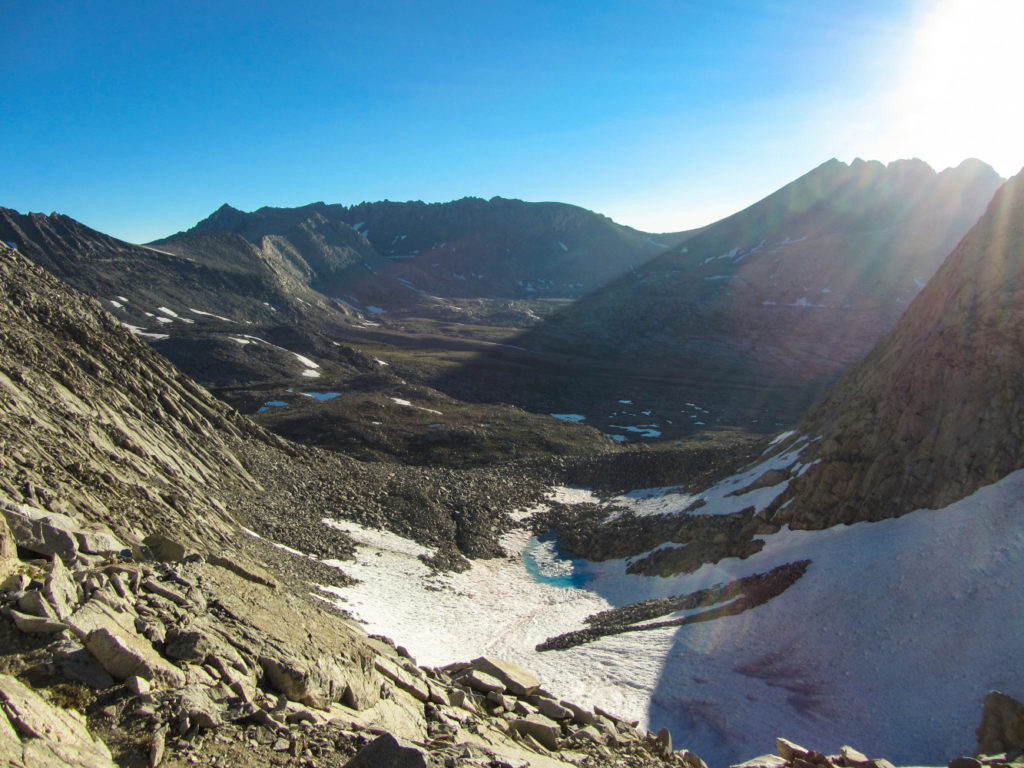
Seeing Antoine already packing his stuff when I woke up made me get up and ready quickly this morning. My La Sportiva Ultra Raptor had surprisingly much grip on the solid frozen snow up towards the pass. Paired with setting my steps into the flat spots on the sun cups made for really good progress even without micro spikes. The scrambling part was a little dicier. Many of the talus blocks were unstable and it paid off to pick good lines. Eventually the climb was neither to hard nor too dangerous and we were catching our first sunbeams of the day at the pass already before 07:00.
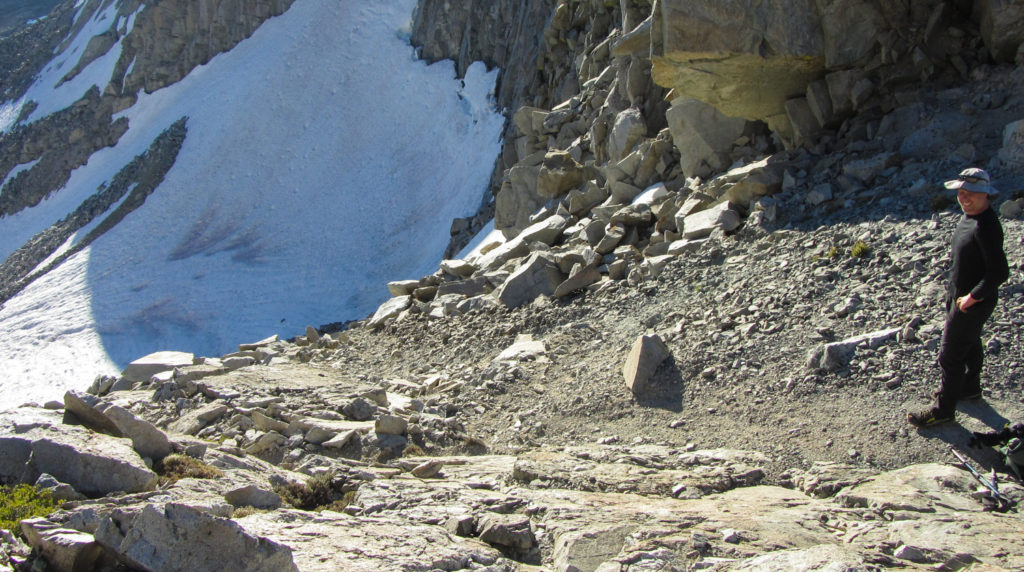
The way down even had a little walked out scree trail which ended in bigger talus and eventually on a big snowfield towards the frozen lake which gives the pass its name. The sun had slightly melted the top layers of the snow but it the snow still being too hard and icy forced me to stay on the talus longer before being able to glissade down on more level snow.
Antoine and I said our goodbyes after hitting the Muir Trail and I continued up Mather Pass. The trail felt easy and soon I was branching off the trail and up towards mighty Cirque Pass. This one turned out to be indeed long and hard and after meeting another solo hiker named Kate who was coming down the pass I was glad to had made it to the top. Kate was doing the SHR southbound and was about to switch over to the Southern Sierra High Route, put together by Alan Dixon. She was carrying ice axe and micro spikes and she mentioned that there was a lot of snow north of the mammoth crest. Next up was Potluck Pass before I would get onto known terrain from our climb of Mt. Sill in the previous year. Potluck Pass isn’t super easy and it looks impassible if you look at it from afar. I was wondering how it would work with the snow. It turned out to be hard but it was doable.
Potluck Pass
On the fringe of bad weather
After arriving at the top I quickly stripped naked and washed myself with some snow. It was really cold but refreshing. The rest of the day I followed a rain front that was just in front of me through the whole Palisade Basin and down Knapsack Pass. After arriving at Dusy Basin I was debating if I should stop but for some reason I continued down the Bishop Pass Trail all the way down into Le Conte Canyon and settled for the night way after dark.
Day 5, Thursday 24th of August 2017:
Le Conte Ranger Station -> Lake below Snow Tongue Pass
16.5 mi +4813 -1933 ft
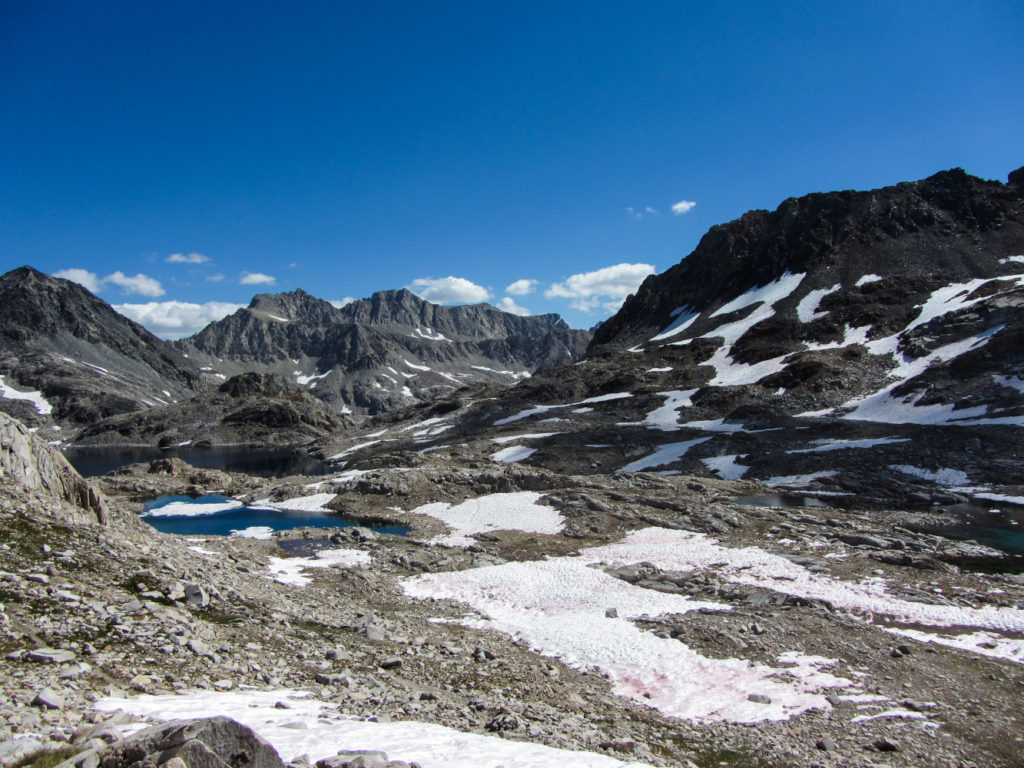
I started somewhat early thinking that I just fly over Muir Pass so that I will have more time to proceed along the off trail sections that would await after. Muir Pass turned out to be really long and somewhat hard although it was all on trail. The trail made for careless walking and I did some good and deep thinking that almost felt like meditating about my life. I was happy to get to the top and to meet some nice people to chat with.
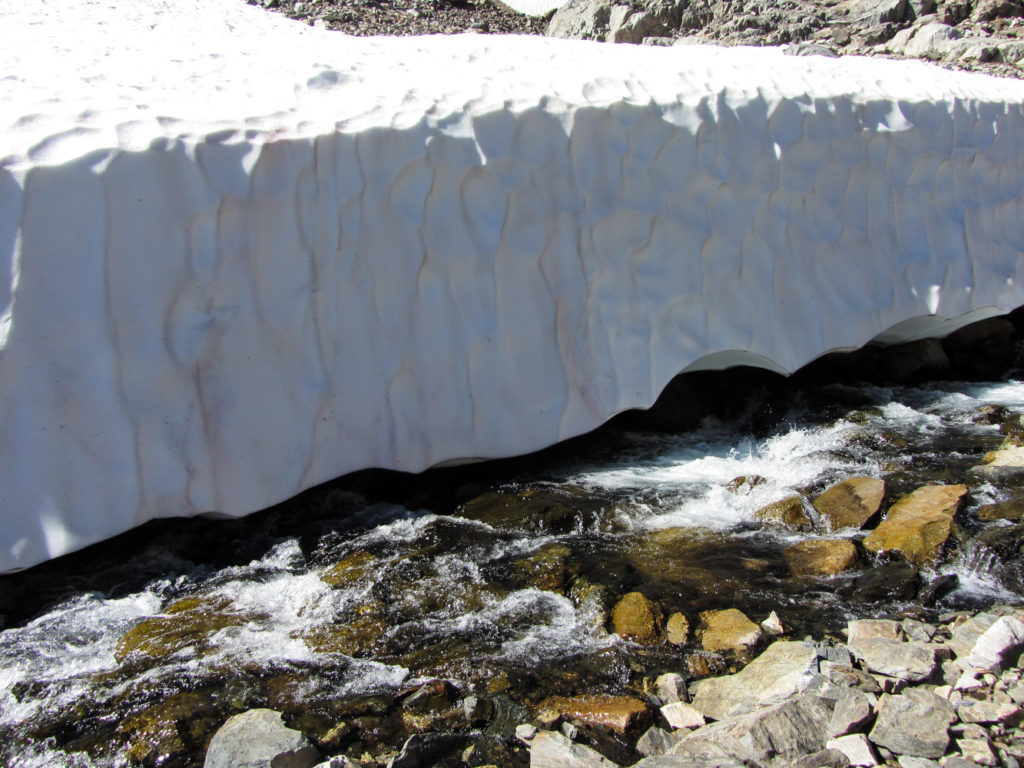
Continuing down past Helen-, Wanda- and Sapphire Lake I started to grow anxious about the next off trail section. It starts at the outlet of Evolution Lake and is a three-mile traverse on the side of Evolution Valley. Its forested and you kind of just have to stay within a certain elevation. I found this section to be one of the hardest if not the hardest route finding of the entire high route. You don’t really have any landmarks to orient with and on top my altimeter readings were not very precise. You just have to stick to your guts and keep going until at some point you kind of pop out of the woods and are able to orient yourself along the Glacier Divide which you are about to cross next. Muir Pass and the traverse had taken their toll on me and so I decided to camp at the base of Snow Tongue Pass. This decision really wasn’t easy cause I know there would be snow on the decent from that pass and the conditions in the morning would making my way down harder but I also was to tired and it was too late to push over the pass now.
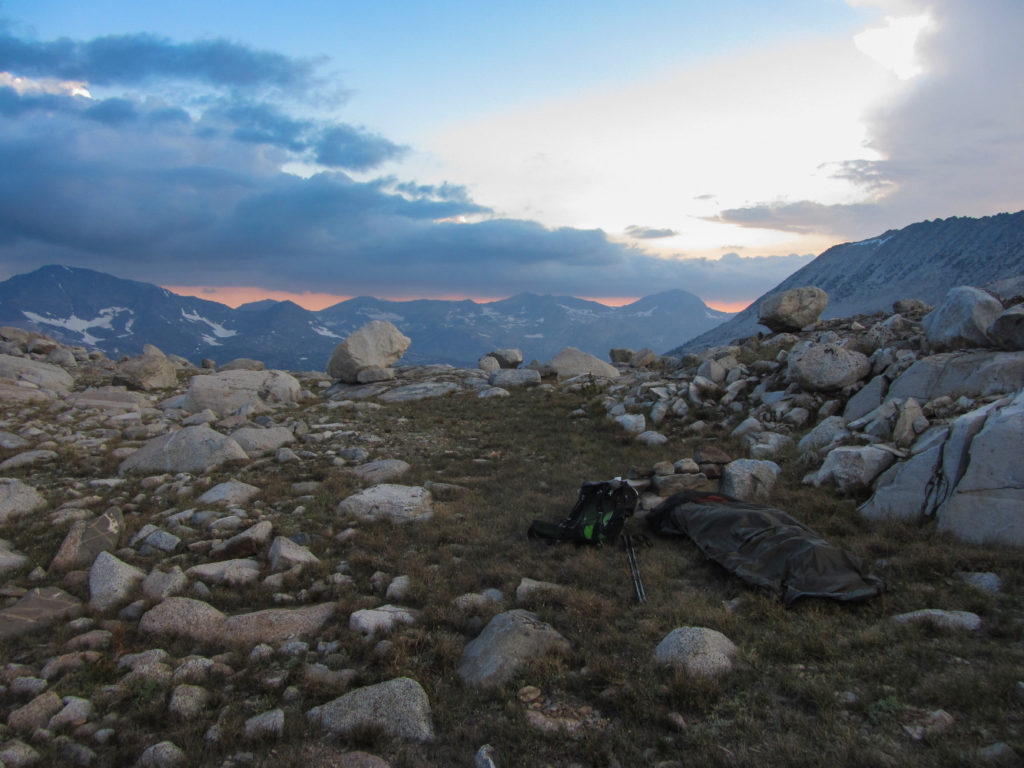
So while I was putting up camp and making dinner I heard a pack of coyotes howl nearby. Not a pleasant sound when you are alone in a place that feels really remote already. I settled in for the night not hearing the coyotes again until they woke me up with another loud and really near sounding pack howling in the middle of the night. I was hoping they wouldn’t come closer but what was I going to do anyway?
Day 6, Friday 25th of August 2017:
Lake below Snow Tongue Pass -> La Salle Lake
12.5 mi +3632 -3693 ft
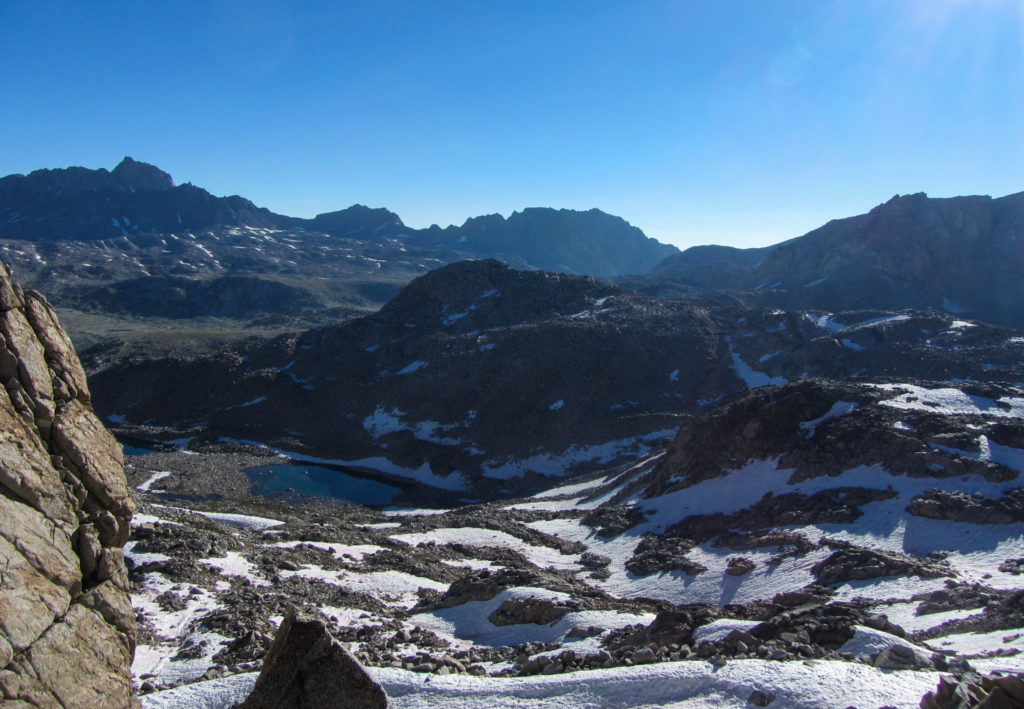
With the solid frozen snow on the descent from Snow Tongue Pass in mind, I took my time getting ready. My tarp had been all wet from the night’s humidity so I tried to get it as dry as possible and ended up putting it to the outside mesh pocket of my Exos pack. The way up to the pass wasn’t hard at all and it was nice to be greeted by the sun once I got to the top.
I anxiously scouted out the descent route without my pack first and then went for it with my poles tucked away on my backpack. This part is definitely one of the sketchier ones of the high route and I really took my time and carefully made my way down the loose scree and talus blocks. A good line would have been to cross the steep snowfield and continue down on the other side but the snow was still too solid to try that. So I had to just super carefully make my way down the steeper parts until the snowfields weren’t too steep and I could somewhat ski-skate down.
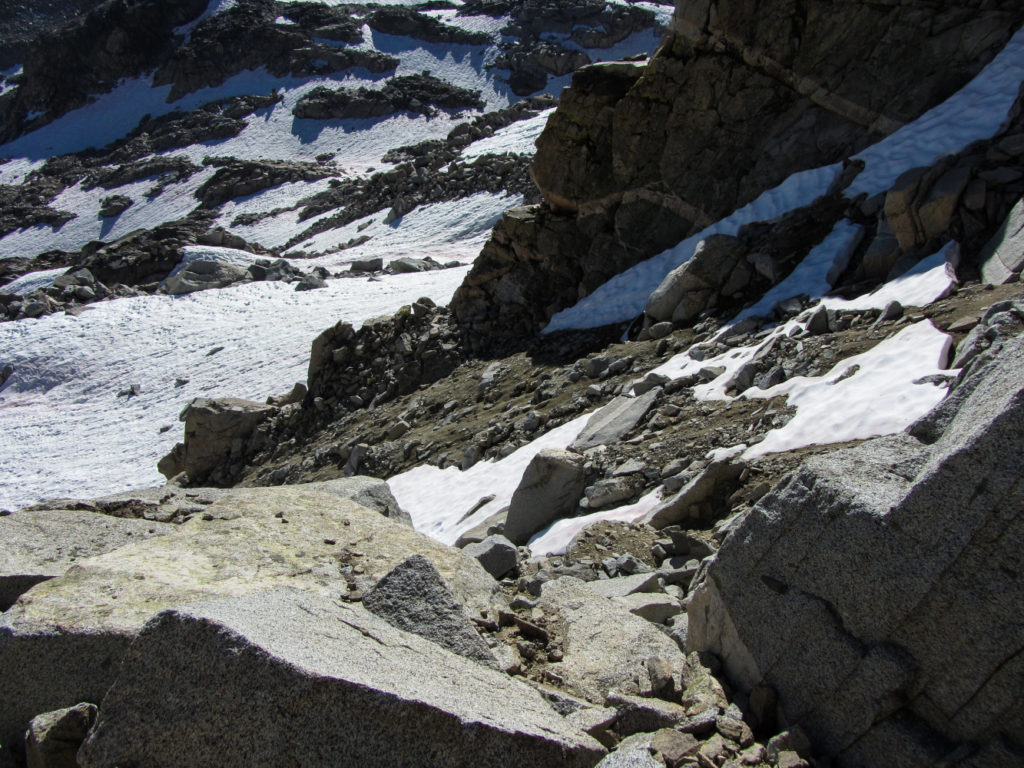
Having managed this part really gave me a boost in confidence and more than ever before I felt sure I can finish the whole thing. The snow fields all the way down to the Wahoo Lakes made going super easy and I was down in the Humphrey Basin at no time. This allowed me to dry out my tarp and take a bath at Mesa Lake. The rest of the day was fairly straight forward then.
The descent from Puppet Pass was somewhat steep and I got a little rain on the trail up Meriam Lake and onward to Lake La Salle but I eventually found an awesome camp side with an incredible view for dinner. Although my bear concerns after the “meeting” on the first day were a lot minor up here, I still kept good bear practice where I would eat some distance away from camp and hide my Ursak under a pile of rocks where I couldn’t find a branch to tie it to.
Day 7 , Saturday 26th of August 2017:
La Salle Lake -> Laurel Lake
16.3 mi +5012 -6223 ft
My daily routine improved day by day which helped me getting out of camp and onto the trail earlier in the morning. I would prepare everything I needed in the morning already the night before. Breakfast ingredients would be ready, the food for the next day would already be laid out and packed in a separate Zip-Lock bag and I would already dig a cat hole for the mornings necessities. My alarm would go off every morning at 5:45 which was just before sunrise and I would usually be on the go within the hour.
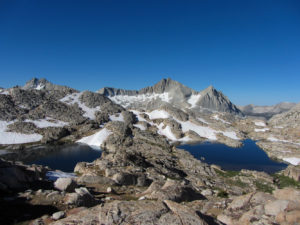
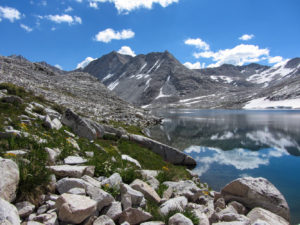
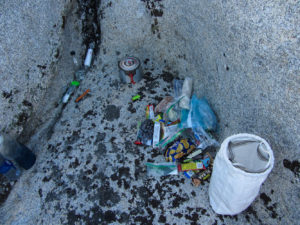
That morning was just as beautiful as the evening before and after a little tricky traverse on some ice that reached all the way into the lake I found myself making my way up into the sun towards Feather Pass. The descent into the Bear Lake Basin consisted of ski/skating down frozen snow fields but the gradients weren’t too steep so it was fast and fun. The Bear Lakes were really beautiful and despite that I had read of people having trouble finding their way here, I had no issues and enjoyed the windless beautiful morning in a location that really feels remote and untouched.
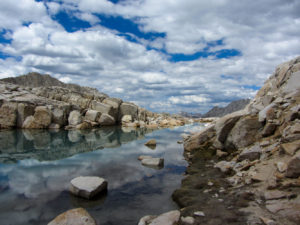
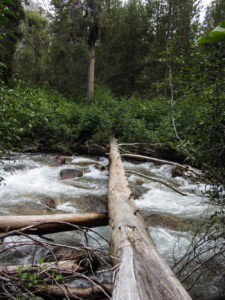
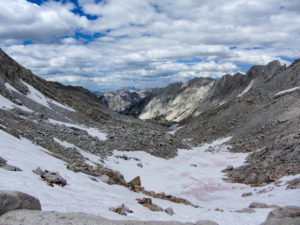
Crossing Mono Creek is done on fallen logs. It would be difficult to cross the creek, which would better be named Mono River, without the logs. After that really long descent you end up as low as 8800 ft. elevation and on the SHR that can only mean one thing, a long climb lays ahead. Pretty tired I trotted up the trail towards Laurel Lake. The trail fades in and out and the closer I got the more mosquitoes were pestering me. I had to gear up with rain jacket, head net and spray for it to be bearable, even if that meant sweating my ass off under the jacket. When I got to Laurel Lake I spotted a tent and two people that were waving their hands around their heads constantly. The mosquitoes were so bad up here that you literally had a black curtain of the freaking things in front of your face at all time and those two poor souls didn’t have head nets. It was nice to see some people but we only chatted briefly. Although it wasn’t super late yet they had already made dinner and were about to escape to their tent. I wanted to move higher and get out of the mosquitoes but I was too tired and I didn’t trust my exhausted self to pick the right pass, so I set up my camp as mosquito safe as possible. The mosquitoes were so bad I had to walk around while I ate my dinner and only lift my head net for each spoon load otherwise those beasts would literally fly into my mouth. I heard them all night buzzing around the mesh of my bivy bag but at least they couldn’t get me.
Laurel Lake
Mosquito infestation
Day 8, Sunday 27th of August 2017:
Laurel Lake -> High on Mammoth Crest
16.3 mi +5630 -5271 ft
The mosquitoes were as bad in the morning as they were last night, so there was no time to enjoy the morning and the sheer beauty of the Laurel Lake area. I ate, packed up and left as quickly as possible. Being refreshed I was confident about Bighorn Pass and I walked and scrambled my way up. The views from up here were magnificent and I could spot the next obstacle, Shout-of-Relief Pass already ahead.
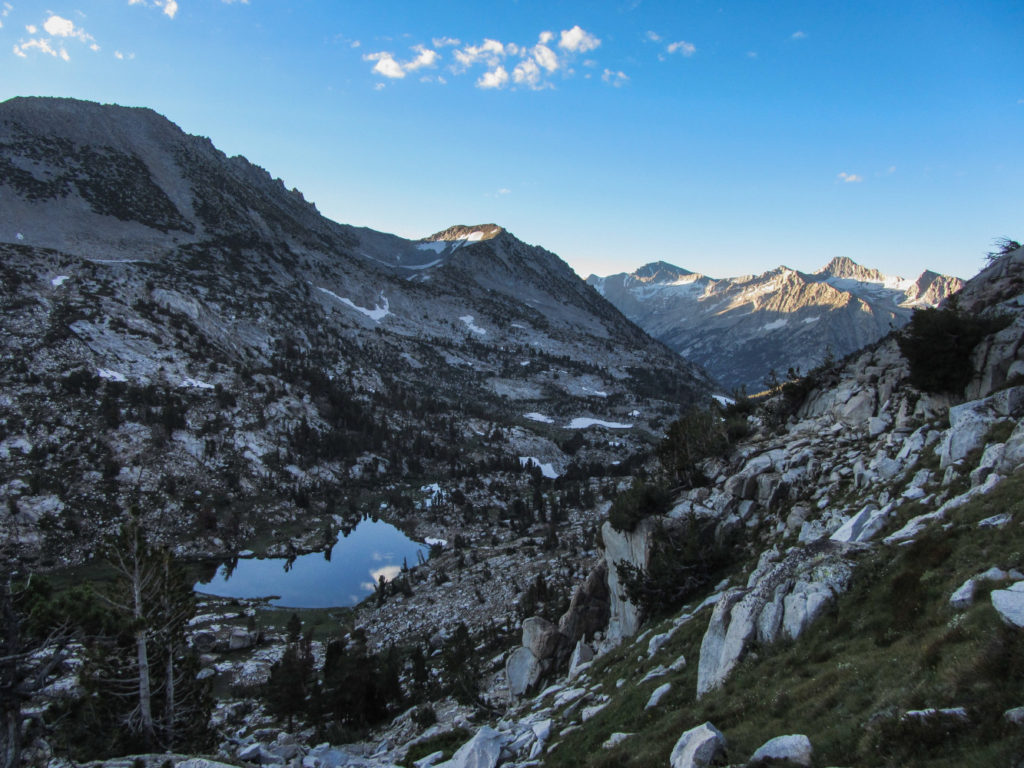
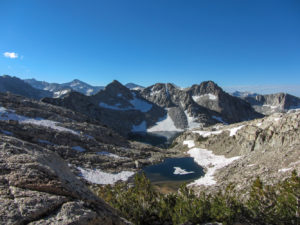
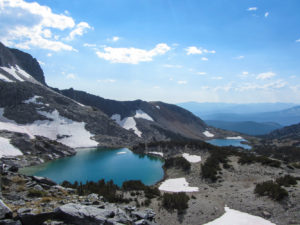
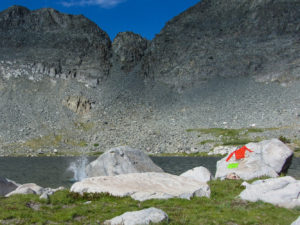
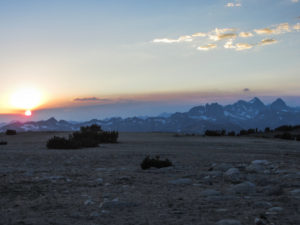
Getting over there was a mix of scrambling and careful walking on solid frozen snow slopes. I did let out the mandatory shout of relief once I was on top of the Silver Divide and was repaid by an excellent glissading descent towards the Cotton Lakes. Maybe this descent was too easy and carefree because once I got back onto water soaked ground the mosquitoes were back and I had to bundle up again. Stopping and looking at the map became miserable and so it took me a little longer to make find the steep way down to the beautiful Izaak Walton Lake. The mosquitoes would not back off all the way through Horse Heaven (what a name) and I was sweating under my jacket all the way to Tully Hole where I would meet the JMT. The area here suddenly gets a lot drier and more arid and I realized that the mosquitoes were gone. I found it such a relief when I took my jacket off that I was almost running up the Muir Trail towards Lake Virgina. It felt good to greet some people and I was crushing the trail. My food was down to half a day of supplies (a resupply package was waiting for me the next day at Red’s Meadow) and the light pack made going so easy that I soon arrived at the Mammoth Crest. I was in dire need of a bath and with no one around at the immensely beautiful Deer Lakes, I took an extended break. This included swimming, washing my clothes and eating an early double dinner (I still had my contingency meal) while my clothes were drying. It was a magnificent evening and so I continued along the Crest until it got dark and eventually just stopped and laid myself down in the open free of any mosquitoes.
Day 9, Monday 28th of August 2017:
High on Mammoth Crest -> Iceberg Lake
16.8 mi +4685 -5522 ft
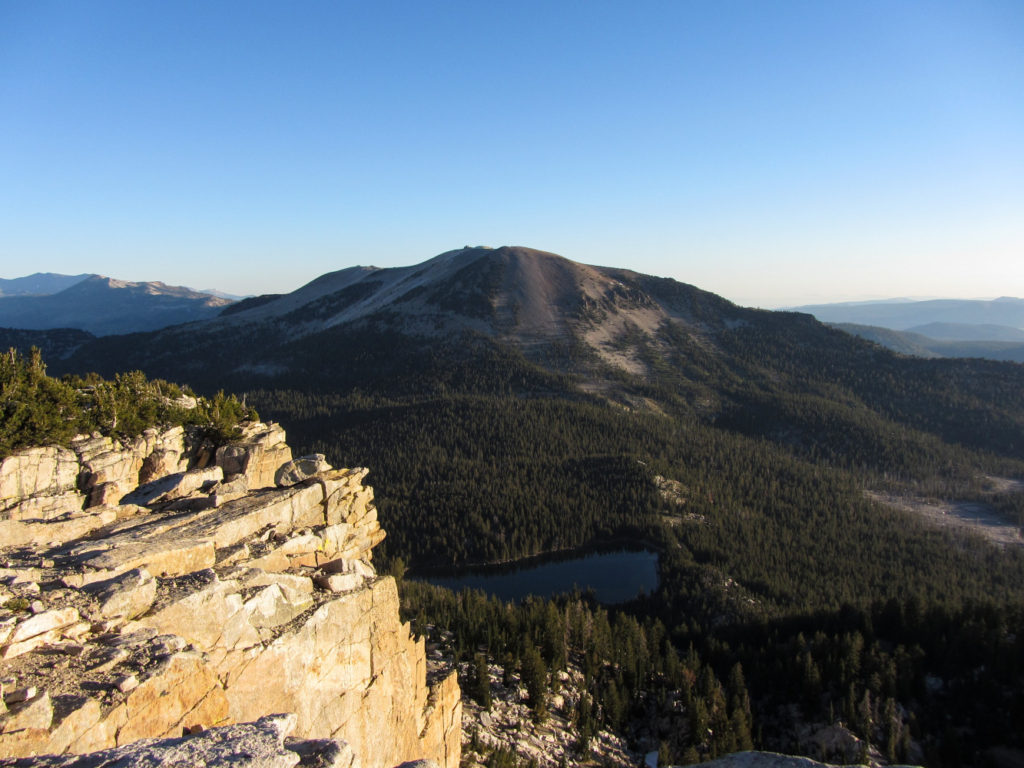
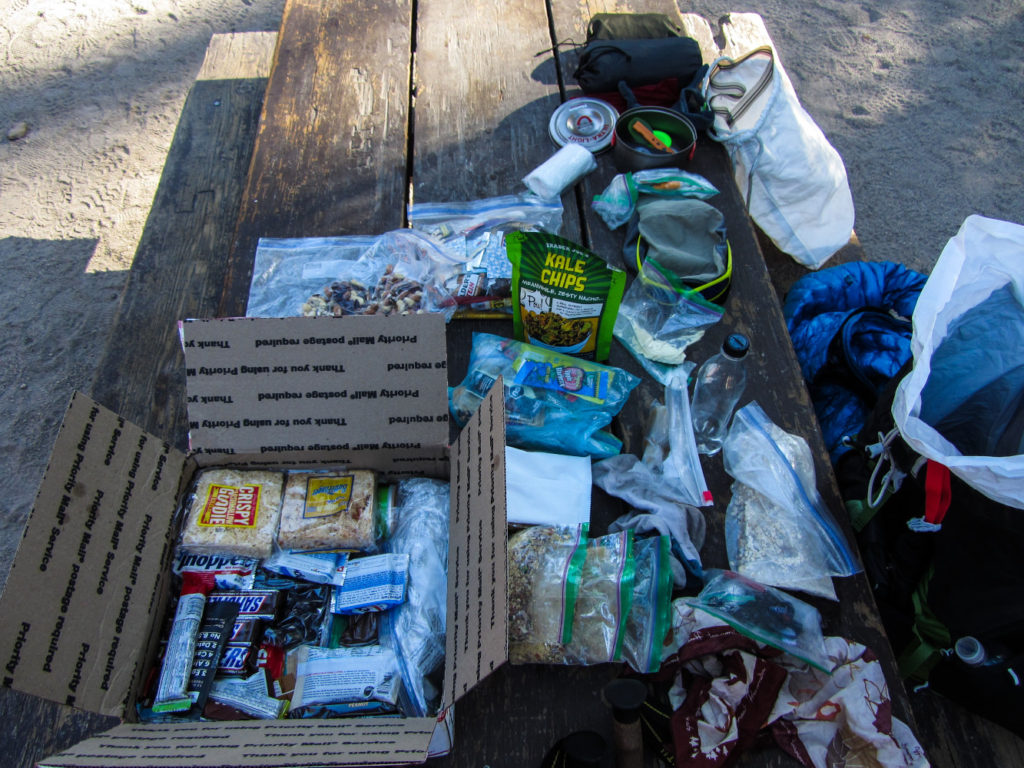
I had a great morning making my way to Red’s Meadow. The way wasn’t hard to find but it still took me longer than I thought it would. I relied on USPS to have delivered my re-supply package and the Red’s Meadow crew to have picked it up and store it for me at their location. It took the guy a while to find my box but I think it helped that I put some colorful stickers on it to make it easier to identify within their hundreds of packages. Unpacking my box felt like Christmas and I devoured all my Pringles immediately. I had used some old German Newspaper to wrap some of my food in which I gladly gave to an old German volunteer who worked at the resort. He seemed stoked to read it.
My pack felt heavy with all the new food and the trail felt long and hard. Tired, I arrived at the lake. Up next was Nancy Pass. At the lake I met a guy who said he just came from there. We were talking briefly and I continued on. To get to the base of Nancy Pass I had to cross the inlet of Superior Lake. There was no other way to get across except to get my shoes wet and also the mosquitoes started to pester me. Nancy Pass was tricky to identify. I double checked the map and also re-read the description by Roper. With all the mosquitoes and being hot in my rain jacket I chose the route I had drawn into my map based on Andrew Skurka. It was also the right choice according to the description but already on the way up I realized that this was probably not the correct pass, it would have been one over to the left. I figured this one should work too. Once I got to the top, the view and the missing metal sign (which one can find on Nancy Pass) confirmed that I went up the wrong pass. This made me slightly nervous and so I decided to head down quickly on the other side.
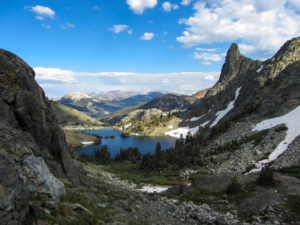
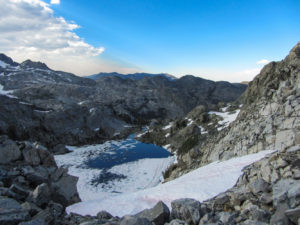
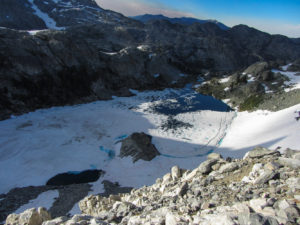
It looked doable but it was deep and loose. Halfway down I checked with the map and figure out where I could rejoin the route. I should have taken more time and just aimed for the Minarets which were clearly visible, but instead I ended up on some cliff too far south of where I had to go. Eventually I aimed for the Minarets and, I’d say with a good hour delay, I was able to get back on track. This little detour also costed me a lot of energy and so I was really tired when I arrive at the beautiful Minaret Lakes. There were a bunch of people around but none of them was keen to chat. I also knew that Iceberg Lake Pass with a lot of snow on it was not good to be done in the morning and so despite being really tired I pushed on. It would have been nice to spend more time in this area of the Minarets, it’s really stunning. I pushed on up the short class three section to Cecile Lake. Up there I met a nice couple of hikers. They said that they had been out for more than two weeks. They were really nice and talking to them gave me energy and I continued on past the lake and down to Iceberg Lake. The descent is steep and loose but it worked out well and I soon was able to get on the still soft snowfield and on to the other side of Iceberg Lake. I was still in beast mode so I almost walked by a couple of guys camping at the base of the lake. When one guy greeted me I stopped and chatted for a while. Only then did I realize how tired I was and I decided to stay and camp with some company here tonight. It turned out that two of the guys camping here we’re doing a section of the SHR and after some shared dinner and more chatting we decided to hike together for a while the next day.

Day 10, Tuesday 29th of August 2017:
Iceberg Lake -> Blue Lake
11.2 mi +4983 -4333 ft
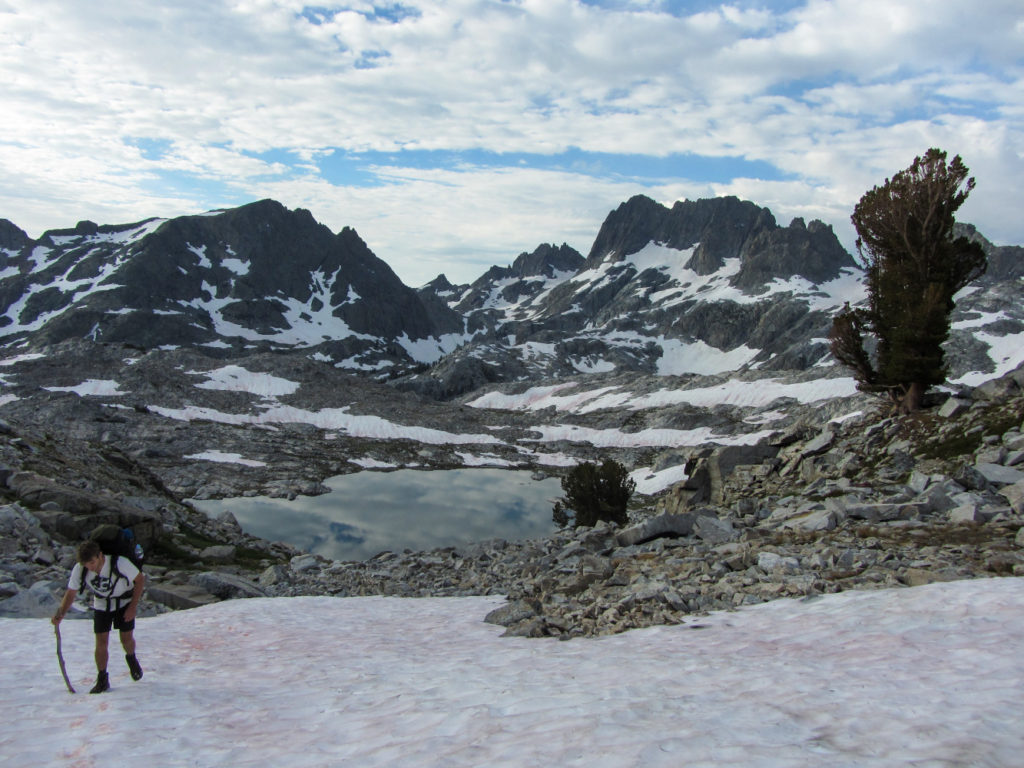
We got out of camp around seven. It was nice to have some company while we were making our way up Whitebark Pass and towards the thousand Islands lake. The descent from the pass was quite sketchy because a huge and steep snowfield blocked the way. We were able to start down a small corridor in between a wall of snow and the rock, where the snowfield had receded from the bedrock. When the corridor ended we had to emerge out on the snowfield where we carefully kicked steps into the hard snow and slowly made our way down. It felt good to reach some more solid ground and we continued past the beautiful reflections of Garnet Lake.
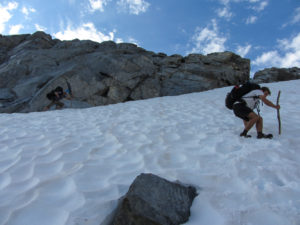
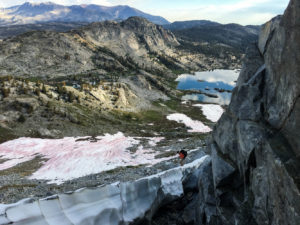
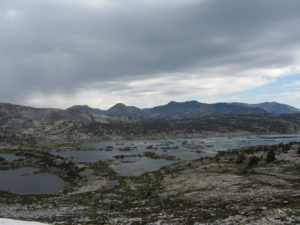
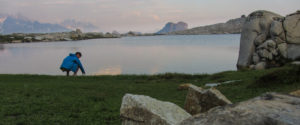
It started to rain slightly and we put our rain jackets on but it didn’t last long and soon we took them off again as we were heading up towards Glacier Lake Pass. Almost the whole ascent was on large remaining snowfields which made for easy progress. Towards the top they were receding and we did some scrambling over black boulders. By now we had circumvented Ritter and Banner and had arrived at Lake Catherine. Henry and Andrew had planned to stay here this night. Because I knew that tricky route-finding lay ahead for the rest of the day I had pushed on pretty hard this morning. The two guys were starting to get tired but I guess they were glad about the shared navigating and so we embarked together onto the next section. One has to follow down the outflow of Lake Catherine but steep and rugged terrain made for difficult progress and so we closely followed the description of Roper. It was spot on and we made our way down and over to the Twin Island Lakes.
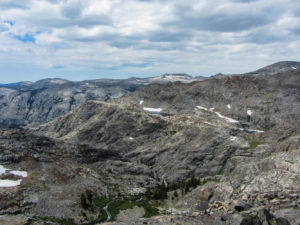

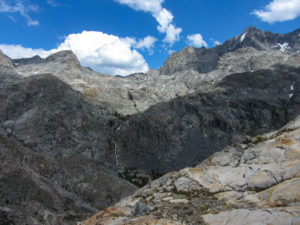
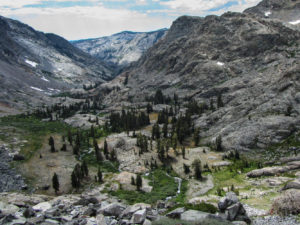
The Sierra High Route has only one major water ford and that is the outlet of the lower Twin Island Lakes. I had been anxious about this part for a long time. With the record snow falls last winter I worried about high water levels. The water had indeed been high but I was able to keep my cheeks dry as I forded the water. Here I am also set my goodbyes to Andrew and Henry who were camping here for the night.
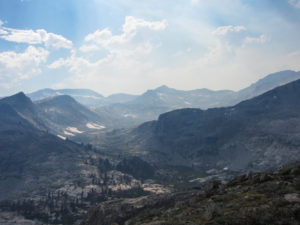
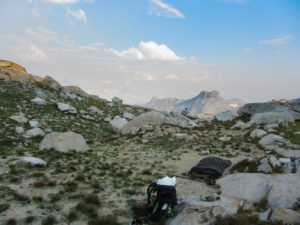
I continued on, over still tricky sections to navigate until I could see the next goal – Bench Canyon – from above. Once I had made my way down to the Canyon I was pretty relieved and took a long break sitting against a large rock in that beautiful and peaceful place. I knew I wouldn’t make it over Blue Lake Pass today so I slowly meandered up the beautiful Bench Canyon towards Blue Lake where I would put up my camp for the night. There must have been some fire somewhere in Yosemite because around this time I could see and smell the smoke in the air for the first time. Blue Lake was amazing and I truly enjoyed my night.
Day 11, Wednesday 30th of August 2017:
Blue Lake -> Tuolumne Meadows
21 mi +4069 -5979 ft
I woke up to rain splash in my face. I hadn’t put up the tarp ever since the night below Snow Tongue Pass. It was just before I would have to get up anyway so I jumped out of my sleeping bag and gathered all my stuff to throw the tarp over me and all my gear. I waited for the rain shower to subside, packed up and eat a quick breakfast.
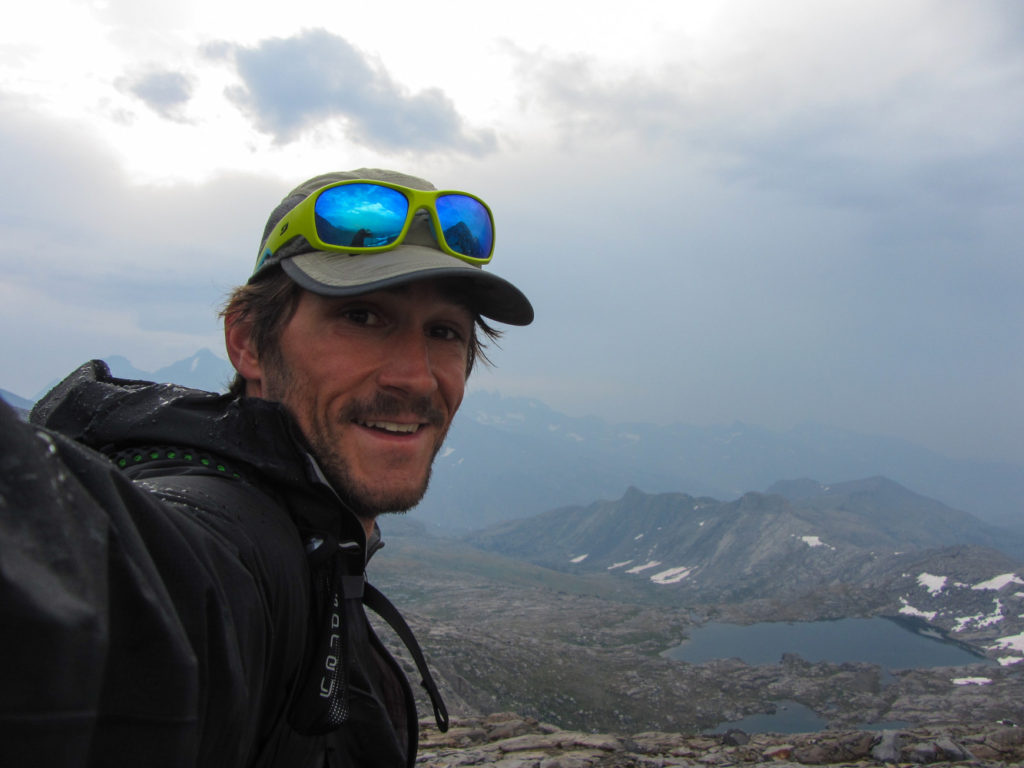
Soon I was making my way up Blue Lake Pass. About half way up the rains came back with vengeance and for the first time on my High Route trip I actually got wet. By the time I was down on the other side of the Pass I was almost dry again. It wasn’t super cold and the breezy wind had dried me up quickly. My shoes remained wet for the morning as I walked through beautiful Meadows that were still wet from the rain. Blue Lake Pass also marks the border of Yosemite National Park and so I made my first steps into this world renown park.
The next tricky part was to get onto Iceberg trail. This gave me some trouble and it took me a while to stumble upon it. From here on the rest of the day would be on trail all the way to Tuolumne Meadows. It ended up to be really long, a total of 21 miles. The last couple of days heads taken their toll on me and I felt tired all day.
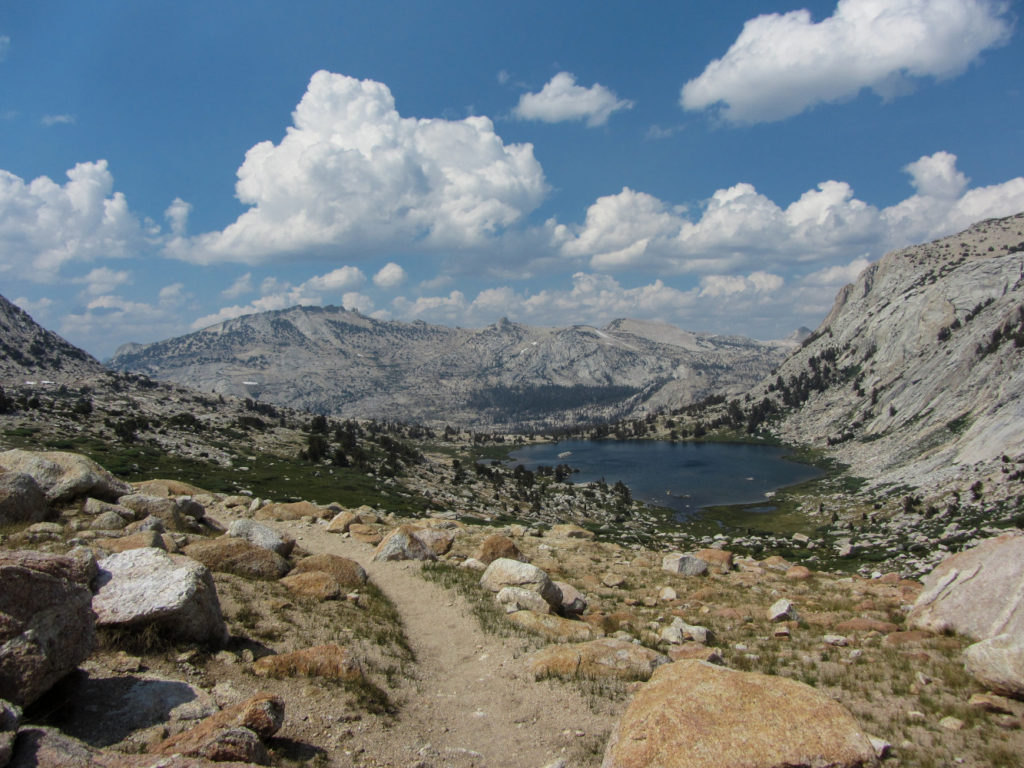
I eventually got to Tuolumne Meadows and after some confusion I also found the JMT backpackers’ campground. After having spent every night in some kind of wilderness area it felt weird to set up camp next to a lot of campers and JMT hikers. What was nice, was that I ran into a guy that I had I seen on the JMT while I was making my way up towards Lake Virginia. We had chatted briefly then and it was interesting to come together in another spot and compare how we each got here. Together with another bunch of JMT’ers we shared some dinner stories and had a can of beer together.
Day 12, Thursday 31st of August 2017:
Tuolumne Meadows -> Soldier Lake
17.6 mi +6695 -4560 ft
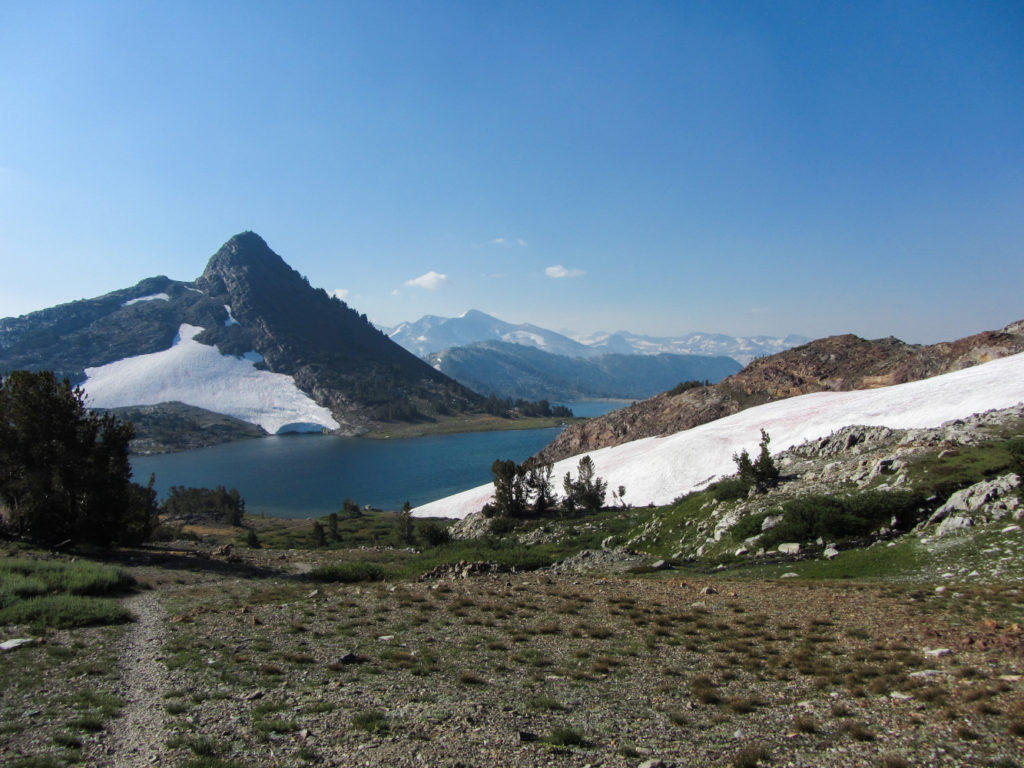
This was the first morning that was a little bit frigid and walking felt good to stay warm. I soon was heading towards Gaylor Lakes and continued on towards Mine Shaft Pass. Until here everything had been straightforward. The next section was a little bit trickier due to large sloped snowfields that ended at a cliff. I carefully made my way across to Spuller lake. Navigation was a little bit trickier here again but I felt a lot stronger again and so I was speeding past Maul – and Green Treble Lake and on towards Mount Conness.
Spuller Lake with Mt. Conness in the back
Looking at one of the last obstacles. Sky Pilot Col with a big snowfield below
Next up was the crossing of the east spur of Mount Conness. Roper describes this part as a thrilling adventure on firm granite, an airy traverse and stunning views. He is right with everything. There’s a little bit of exposure but overall it’s a really fun part and navigating wasn’t too hard.
High up on the spur I could see my next obstacle which was Sky Pilot Col. I noticed that there was still a large snowfield remaining at the top. If you see those obstacles from far ahead they always look hard. I continued making my way down and started to ascend up towards the col. Once I get a better look of the snowfield I realized it wasn’t possible to go onto the snow because it was really steep but there was a tiny snow free line up on the left side that should work. It was steep and some of the scree was really loose but eventually I arrived at the top.
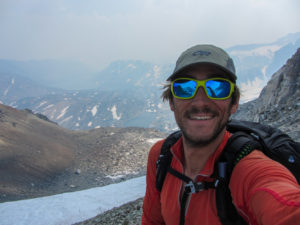
The descent on the other side was only a little hard at the top where there was another section of loose scree but after that I could almost ski-skate and slide down soft snowfields all the way to Shepherd Lake. I had made good time and it was still early so I continued down into Virginia Canyon and up again all the way to Soldier Lake.
This was going to be my last night and so I took a quick bath and found a really nice campsite with an incredible view of where I had just come from. I ate another double dinner (contingency meal) and settled in for a comfortable night.
The SHR left its traces
Campsite at Soldier Lake with a view back at Sky Pilot Col
Day 13, Friday 1st of September 2017:
Soldier Lake -> Mono Village, Twin Lakes
8.2 mi +1497 -5084 ft
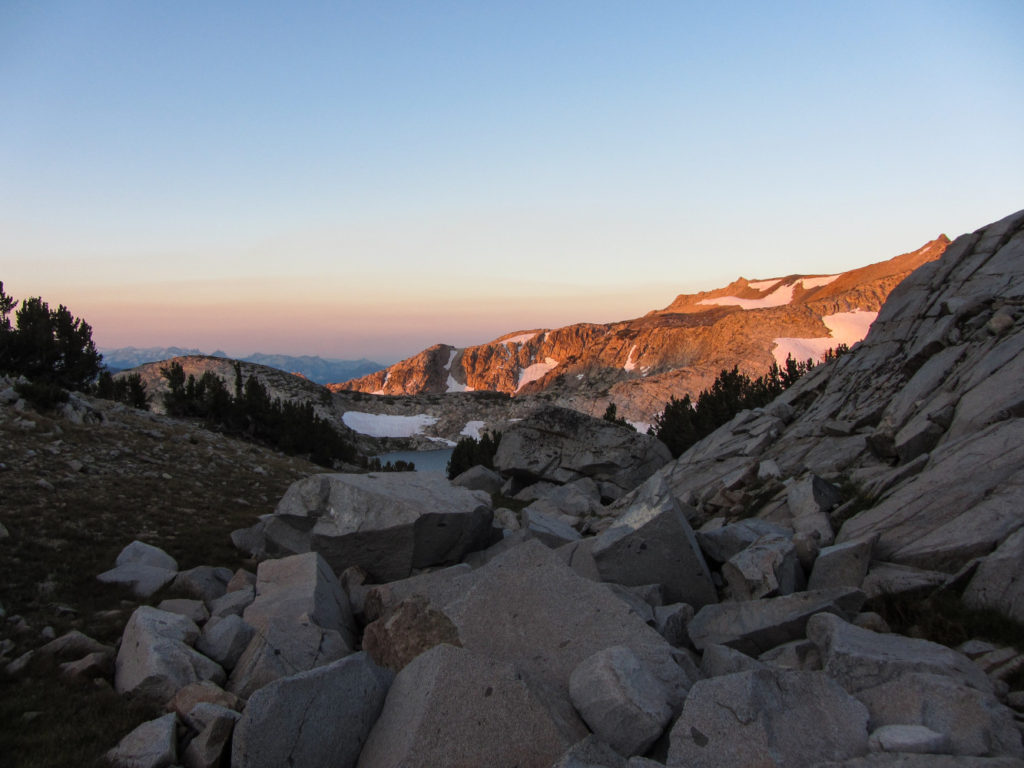
I woke to another frigid morning. The temperatures had really dropped for my two last days. In my head there was only really one obstacle left and that was the descent from Stanton Pass. I was pretty confident by now that I could finish the high route but I also knew that there is a bit of class 2-3 down Stanton Pass and if there would be snow on it, it would be frozen solid this morning. So I thought I take my time for breakfast and breaking camp but my routine was set up so well that I soon rolled out of camp. There were a couple of snow patches up towards the pass and I really couldn’t walk on them because they were like solid ice but I was able to boulder and scramble my way around them and up to the top. A glimpse down revealed a snow free descent and I knew that with a few simple climbing moves I shouldn’t have to much trouble making my way down. I savored the last moments and views, kissed the mountain goodbye and made my way down. I might blame it on the cold morning wind but I did find a tear rolling down my cheek.
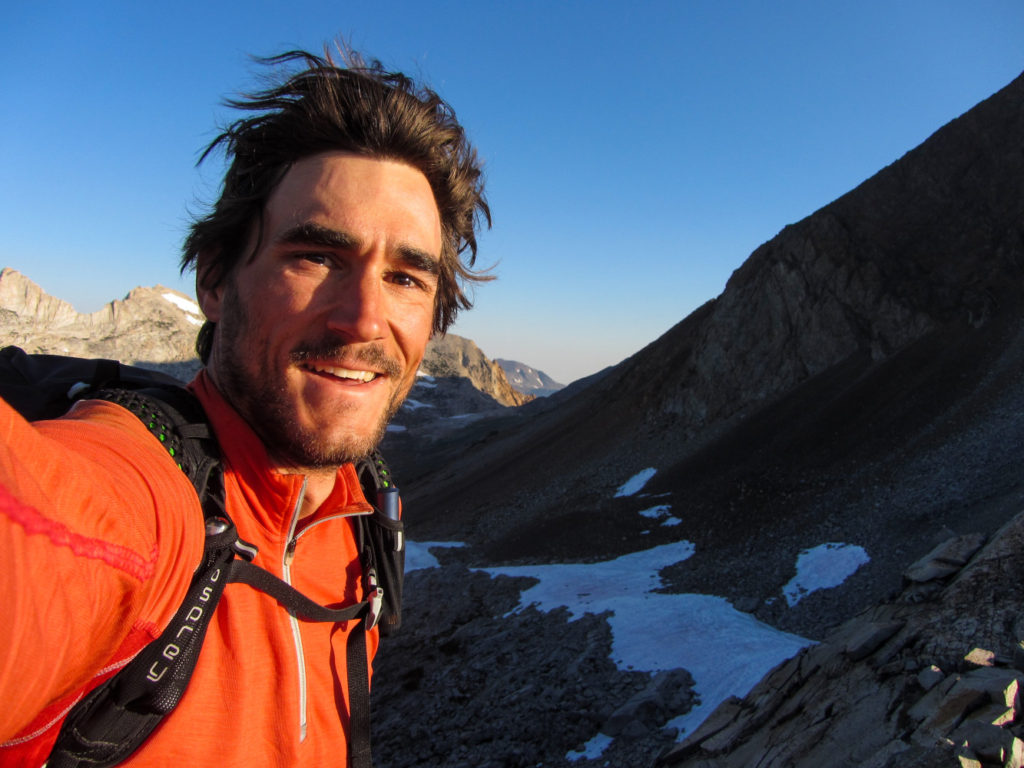
The walk up Horse Creek Pass was windy and cold but otherwise easy walking and it gave me a chance to reflect on the trip. What a trip it had been! I started my way down towards Twin Lakes. The now soft snow made for good progress and soon I was on a good trail which made going even easier. At some point I was just running down the trail until I ran into a couple of hikers coming up. We chatted briefly and without telling them they knew that I was just finishing the SHR, it was probably written all over me. Eventually at around 11 a.m. after 13 days, 220+ miles and 62000+ feet elevation gain I had reached the northern terminus of the Sierra High Route.
Wildflowers
Descent into Horse Creek
Once you get off the trail you need to navigate your way out of the woods over the creek and through the adjoining campground. I guess the Trail Magic wasn’t done with me yet because I had a hard time finding my way out and so the only bridge over the creek I found was a fallen log that ended directly into someone’s campsite. Politely, I excused myself for just walking into their little area. The guy sweeping the ground with a big broom welcomed me heartily, sat me down and gave me some cold and sweet ice tea to drink. What a treat! Craig was a summer resident at the campground and had his friend’s daughter, Cassidy visit. She had just cycled across the US so we had a lot of stories to share. They made me lunch and I took a shower and did a quick was of my clothes. It was such a warm welcome that I had a hard time leaving. Cassidy drove me into Bridgeport where I was lucky enough to catch the last bus for the week down towards Lone Pine.


It had gotten late and by the time I got off the bus in Independence it was already getting dark. I was slightly worried that I might not be able to catch a ride up to the Onion Valley parking and that I had to walk up for another 4h. But never mind, Trail Magic was right there and the very first car stopped and I had a nice and comfortable ride with a lovely couple that was going for a backpacking trip the next morning themselves.
So around 9p.m. I was back at my car, trip was done, EPIC!

Some specific sections that I remember to be tricky:
- I found it generally tricky to find trails when you are coming from an off trail section, especially when you are in a forested area. Some examples are finding the Horseshoe Lakes trail, the trail that leads to the Deer Lakes and getting onto Iceberg Trail.
- The way up towards windy ridge. I could not find any “use trail”.
- Identifying Frozen Lake Pass from the Lake Basin can be a bit tricky. I got the map out a couple of times but was able to go into the right cirque eventually.
- The “three mile traverse” on the side of Evolution Valley. Most of this is in some sort of forest, which makes orientation quite difficult.
- The descent down into Second Recess. There is a faint trail but it disappears often. Again, the wooded character of the area makes progress a little hard.
- I think the description and the maps I had were incorrect for Nancy Pass. I crossed somewhere to the south and then had trouble to reconnect into the Minarets.
- The section from Twin Island Lakes until you can see Bench canyon does not have many landmarks.
Complete Breakdown:
| Day: | The Obstacle: | The Fatcs: | My Thoughts: |
| 1 | Kearsage Pass | Trail | Can be long but easy |
| Descent to Road’s End | Trail | It’s really long and one creek crossing can be tricky at high levels | |
| 2 | Copper Creek Trail | Trail | It’s a long uphill, easy trail |
| Off Trail to Grouse Lake | Off Trail | Forested and hard to orient, it’s short though and you can’t really go wrong when following your compass | |
| Grouse Lake Pass | Class 2 | Easy to identify and easy to walk up, some sections around the lake were a little tricky | |
| Goat Crest Saddle | Class 1 | Easy to identify and very easy to walk up, descent can be steep, good glissading | |
| Descent into Glacier Valley | Off Trail | Stick to the granite slabs on the left and it works out well, finding the beginning of the State Lakes Trail can be a little frustrating | |
| 3 | Finding Horseshoe Lake Trail | Off Trail | Can be frustrating, Read map well and trust your skills |
| Windy Ridge | Class 2 | There is a little trail that helps, otherwise need to follow map and compass | |
| Gray Pass | Class 1 | Easy to identify and you can’t really go wrong from Windy Ridge, Descent is a little steep but you can’t go wrong | |
| White Pass | Class 2 | Little harder to identify cause you can’t see it from Gray Pass. Way through cartridge creek south fork needs some scrambling, it’s a long uphill. | |
| Red Pass | Class 2 | Easy to identify, traverse from white pass is a little steep but not too hard, Descent is long but has excellent glissading, the chute down to Marion Lake is steep and loose and needs a little carful walking | |
| Lake Basin | Off Trail | Good if you can find the old JMT, some steep sections to climb over, it’s a long way to the base of Frozen Lake Pass | |
| 4 | Frozen Lake Pass | Class 2 | Can be hard to identify, Make sure your know the correct mountain as Vennacher Needle, Some loose talus on the ascent to be careful about, one of the harder passes that pays off if you pick good lines on stable talus, descent has a little walked out trail and more scrambling or glissading |
| Mather Pass | Trail | Fairly easy | |
| Cirque Pass | Class 3 | Not hard to identify, Not a class three but its really long and there is a little exposure and scrambling, one of the physically harder passes | |
| Potluck Pass | Class 2 | easy to identify, Looks intimidating from far, mix of loose scree in the beginning and some easy scrambling with exposure towards the top, a little harder than average over all | |
| Knapsack Pass | Class 1 | Easy to identify and easy scrambling | |
| Bishop Pass Trail | Trail | easy but a long descent | |
| 5 | Muir Pass | Trail | Easy walking but it is really long |
| Traverse along Evolution Valley | Off Trail | Make sure your altimeter is set right and stick to the elevation recommended, hard because no landmarks to orientate, the whole thing felt hard and unpleasant to me | |
| 6 | Snow-Tongue Pass | Class 2-3 | ok to identify, ascent is easy scrambling, descent is steep and loose, take your time and be careful, one of the sketchier parts of the high route |
| Puppet Pass | Class 2 | fairly easy to identify, ascent is straight forward, descent is steep talus but not exposed | |
| Descent into French Canyon | Off Trail | aim for Royce Falls and just walk down | |
| 7 | Feather Pass | Class 2 | pretty easy to identify and fairly easy walking and some scrambling, descent is gradual and has good glissading |
| White Bear Pass | Class 2 | medium hard route finding to get up, steep and a little exposed descent, stick to the right | |
| Gabbot Pass | Class 2 | easy to identify and fairly easy walk up, ascent and descent are both long with some extra scrambling on the descent along Mills Creek | |
| Down into the 2nd Recess | Off Trail | little trails that fade in and out are hard to follow at times, finding the best line down isn’t super easy, some unpleasant bush waking | |
| Crossing Mono Creek | Water Crossing | Make sure you find a downed log otherwise unpleasant to cross | |
| 8 | Bighorn Pass | Class 2 | Steep Slopes to walk up, medium hard to identify |
| Shout-of-Relief Pass | Class 2 | easy to identify, lots of scrambling to get to, descent has excellent glissading | |
| Duck Lake to Deer Lakes | Off Trail | Stick to the description or try to follow faint trail, the gap you go through can be a little hard to identify | |
| 9 | Mammoth Pass | Class 2 | Many little trails that descent from the Crest down to the pass, easy to follow but steep and loose, following your compass till you hit actual mammoth pass trail can be unnerving |
| Nancy Pass | Class 2 | This one is hard to identify because I felt like Ropers description wasn’t correct here. Also I had copied (what I think was) Andrew Skurka’s route from CalTopo and it also goes over the wrong pass. Make sure you identify the correct pass (the left one!). The one I did was steep and loose but not super difficult. | |
| Slot up to Cecile Lake | Class 3 | Few easy climbing moves with one or two hands, no exposure | |
| Down to Iceberg Lake | Class 2 | Make sure you find the little trail, its steep and loose and a little bit exposed | |
| 10 | Whitebark Pass | Class 2 | Fairly easy to identify, traversing steep slopes is a little unpleasant, descent was sketchy due to hard steep snowfield |
| Glacier Lake Pass | Class 2 | Easy to identify, easy due to large soft snowfields, Talus can be long and tiring | |
| From Lake Catherine to Twin Island Lake | Off Trail | tricky route finding, stick close to Roper’s description | |
| Twin Island to Bench Canyon | Off Trail | somewhat tricky route finding, read map well and orient on natural features | |
| 11 | Blue Lake Pass | Class 2 | Classic talus pass, both sides steep but not super hard, easy to identify |
| Finding Iceberg Trail | Off Trail | Somewhat frustrating because of low visibility in trees, follow in direction of trail and keep eyes open | |
| To Toulumne Meadows | Trail | Easy walking but long mileage | |
| 12 | Mine Shaft Pass | Class 2-3 | Easy navigating to Gaylor Lake, medium to identify, continuation towards Spuller Lake somewhat exposed and steep traverse, route finding a little tricky but not too hard |
| East Ridge of Mount Conness | Class 2 | Pick the bigger spur. Not too hard to identify, little exposure but fun | |
| Sky Pilot Col | Class 2 | Long ascent and descent on lots of talus, top is steep and loose, snowfields made ascent more difficult for me but descent super fun | |
| Crossing Virginia Canyon | Off Trail | Keep an eye on Grey Butte and you can’t really go wrong | |
| 13 | Stanton Pass | Class 2 (3) | Easy to identify, some scrambling up but fairly easy, descent is steep with some climbing moves and a little exposure, solid bedrock |
| Horse Creek Pass | Class 2 | Easy to identify, easy walking up and a long way walking down, the descent is easy if you have snowfields at top and find a little use trail lower |

