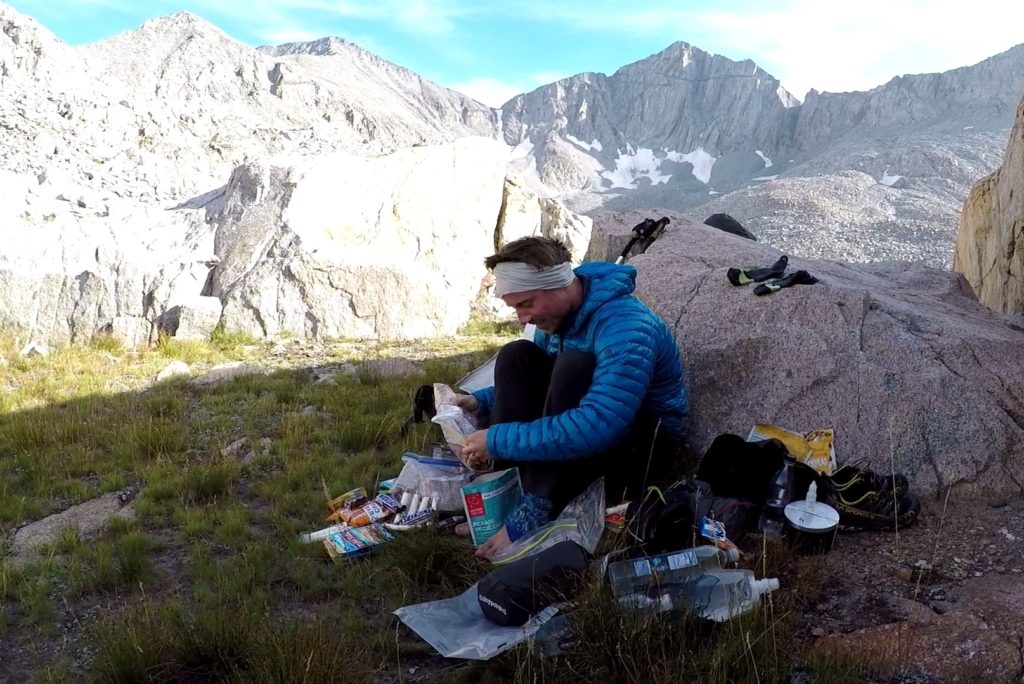
Backpacking Food is some sort of a journey in itself – a sort of evolution. You start out with things that you buy and try and slowly over time you realize what you like and what you don’t like. Dinners are usually your biggest meals and they themselves will usually change throughout your backpacking life.
Most people start out with simple Ramen packages or the Freeze Dried Meals you can buy at the store. There is absolutely nothing wrong with these options and I often use them. If you are spending more time in the backcountry though people tend to leave the store bought meals behind and start to venture into home made backpacking meals.
Home made meals have a couple of advantages:
- the cost is usually less then the 10+$ for freeze dried meals
- you can customize to your own taste
- you can customize the calorie per ounce ratio
- they most likely will be healthier than the prepackaged meals
- they are less bulky than the freeze dried meal packages
- you know exactly what is in them … preservatives, chemicals and all that
Home made dehydrated dinners or breakfast might sound intimidating and look like a lot of work to get all the ingredients and prepare them. This is true to a certain extend. If you you are only preparing a handful of dehydrated backpacking meals then its probably not worth to buy (order online) a bunch of dehydrated ingredients but if you are planing an extended trip or multiple ones, then that might change.
When preparing the food for a backpacking trip I categorize my meals into three options:
Option Nr. 1: Store bought, ready to eat
This is your most convenient (preparation at home and on the trail) but also most expensive option.
Option Nr. 2: Store bought ingredients, mixed in your own way
This option takes only marginally more time to prepare at home than option 1 and will be considerably cheaper, less bulky and customizable.
Option Nr. 3: Dehydrated ingredients (home dried or ordered online), mixed in your own way
This takes a good amount of time to prepare at home but is your tastiest, healthiest and most rewarding option.
Breakfast
Breakfasts are pretty simple, you just need to figure out what you like.
Option Nr. 1: Here are a couple store bought (ready to eat) options
- Oat meal packages (cheap and easy but usually overly sweet with some questionable ingredients) One example
- Freeze dried breakfast meals (expensive and bulky but tasty and convenient) Like this
- Bars (I am still using this option for really quick breakfasts when I just want to get up and going quickly) A classic
Because instant oat meals are basically perfectly dehydrated breakfasts and they also pack small I never even tried a freeze dried backpacking breakfast.
Option Nr. 2: Store bought ingredients mixed yourself
All it comes down to is your imagination or any recipes you can find online or in backpacking cookbooks.
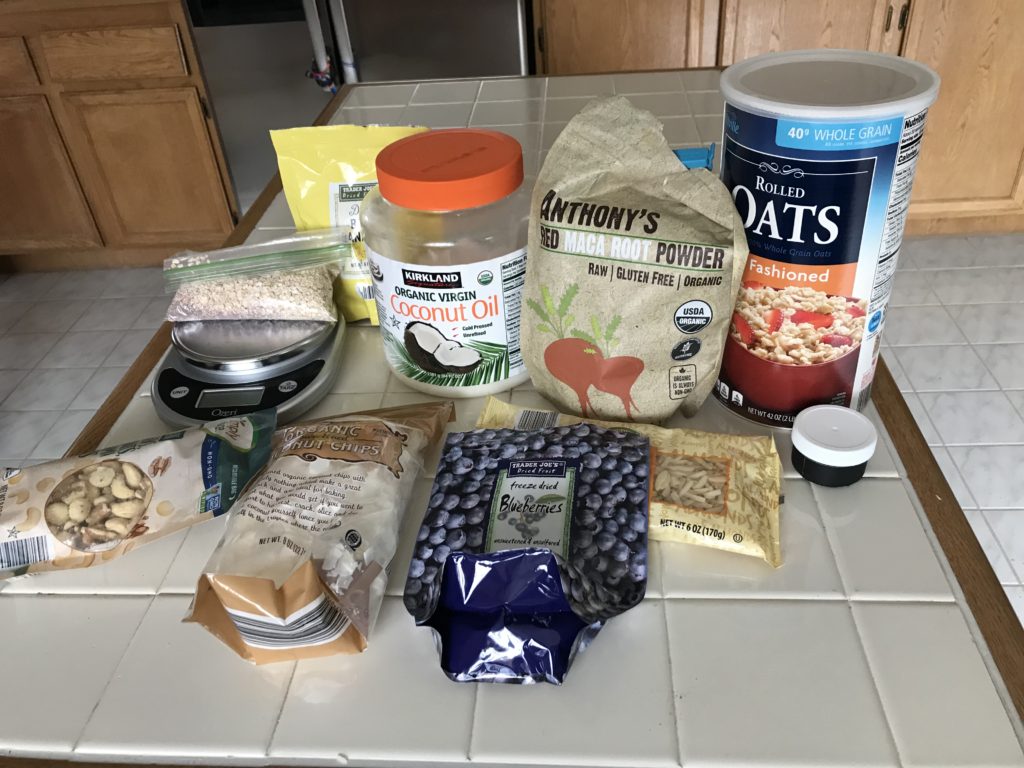
Here is a very short list of ingredients to mix and match:
- Instant oats (any grocery store)
- Granola (any grocery store)
- Ramen (any grocery store)
- All kind of nuts (check the cooking section for cut up nuts)
- Dehydrated fruit (Trader Joe’s)
- Freeze dried fruit (Trader Joe’s) (expensive)
- Milk powder (Walmart usually has that)
- Cocoa powder (Trader Joe’s)
- Maca powder (Trader Joe’s)
- Peanut butter powder (Walmart)
- Cinnamon (any grocery store)
- Brown sugar (any grocery store)
- Coconut oil (any grocery store)
- … sooo much more
My breakfasts are either oat meals that I make from store bought ingredients or its bars. Making your own oatmeal breakfast is really super easy. You can find most ingredients in your local grocery store. It might take a bit of time until you find out what is the best mix for you but I am sure you’ll eventually create your perfect breakfast. If you want to spend some money on the actual recipes the site I can recommend is this backpacking food website: backcountryfoodie.com
The website is now membership based and I haven’t tried it that way but they brought out two backpacking food cookbooks in the past (first one was paid second one was free for a certain time). While the first and more comprehensive of the two books was good in my opinion it also had a couple too many “complicated” ingredients (Option Nr. 3 type ingredients). The second book was simpler and I tried and really liked a lot of the recipes.
Option Nr. 3: Ordered online or home dehydrated ingredients mixed yourself
Because I can find all the ingredients that I like for my breakfast at the store I have never exploited this option.
Grown from Experience: Whatever you choose to be your breakfast option I learned over time that a good and substantial breakfast (for me its oats) changes how you eat all day. If I had a really filling oat meal I am less hungry over the course of the whole day no matter how many snacks I eat.
“Lunch”
Like many backpackers I don’t have a designated lunch meal. I rather take a certain amount of snacks for each day that I can eat over the course of the day while hiking. None of them require any cooking because I don’t want to get my stove out of my pack during the day. My snacks always change. I rarely bring exactly the same things as the last time I went backpacking. Here is a list of snack-options for backpacking:
- Granola Bars
- Energy Bars
- Protein Bars
- Energy Gels
- Energy Blocks
- Trail Mix
- Crackers
- Chips
- Popcorn
- Dried Fruits
- Chocolate
- Nuts
- Nut-butter Packages
- Banana Chips
- Roasted Edamame
- Cheese Sticks
- Tuna Bags
- Beef Jerky
- …
Dinner
Finally we get to the most sophisticated part of backpacking food. Your backpacking dinners are something to look forward to all day of hiking.
Option Nr. 1: Store bought – ready to eat
- Freeze dried meals; easy and tasty, no clean-up but bulky and expensive.
This one is soo good though. - Ramen packages, def not healthy and not very tasty but cheap and convenient
Option Nr. 2: Store bought ingredients – mixed yourself
If you want to make your dehydrated meals from scratch you need dehydrated or even freeze dried ingredients. I have not found many (if any) local grocery stores that have a good selection of single dehydrated ingredients. Have you ever tried finding dehydrated black beans at a store for example? I never had any luck. But there are a couple of dehydrated/instant foods that you can find locally and they are usually enough to make simple, cheap and tasty backpacking dinners.
The main ingredient for most all my backpacking dinners is dehydrated rice also called instant or minute rice. The good news is instant rice isn’t hard to find local. Many stores carry it, I buy mine at ALDI.
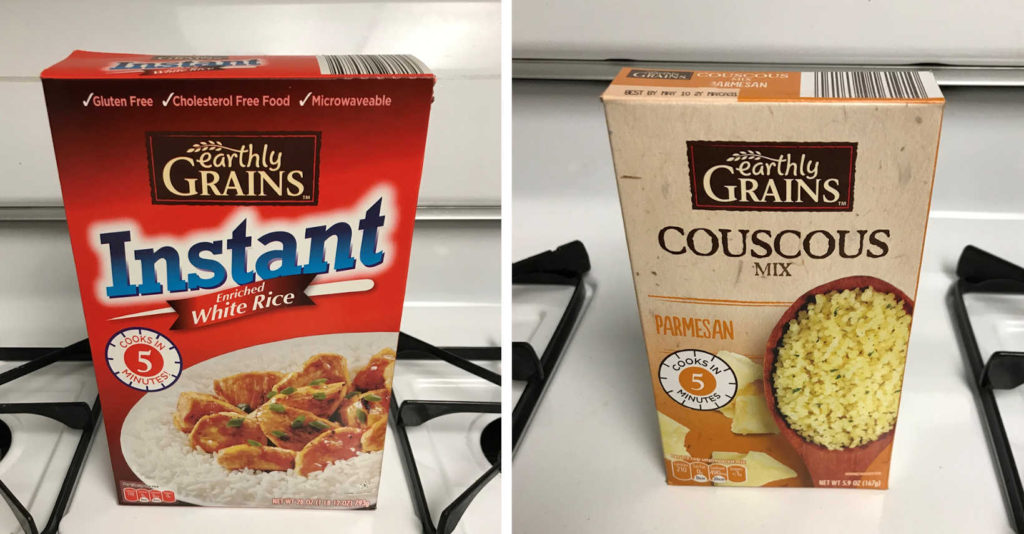
Other instant options for your carbohydrates are (instant) couscous (also available at ALDI) or again Ramen. I know there are a few more options like polenta, bulgur and others but I do not have any personal experience with these.
For my simplest home made backpacking dinners I only need one other dehydrated “ingredient” from the store. I use “instant soup mix”. They are the meals protein.
Depending on which soup mix you are getting you don’t even need to add any more flavoring.
List of soup mix cups:
- Dr. McDoughall’s Right Foods:
- The Spice Hunter:
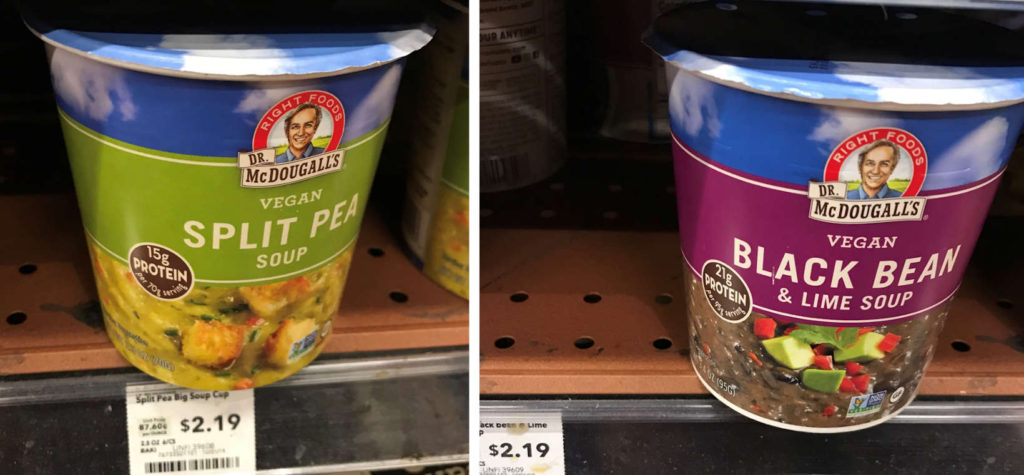
The McDoughall ones are widely available at local grocery stores. I just recently got some from Whole Foods. I haven’t seen the Spice Hunter ones around for a while but I remember getting them either from Whole Foods or Sprouts.
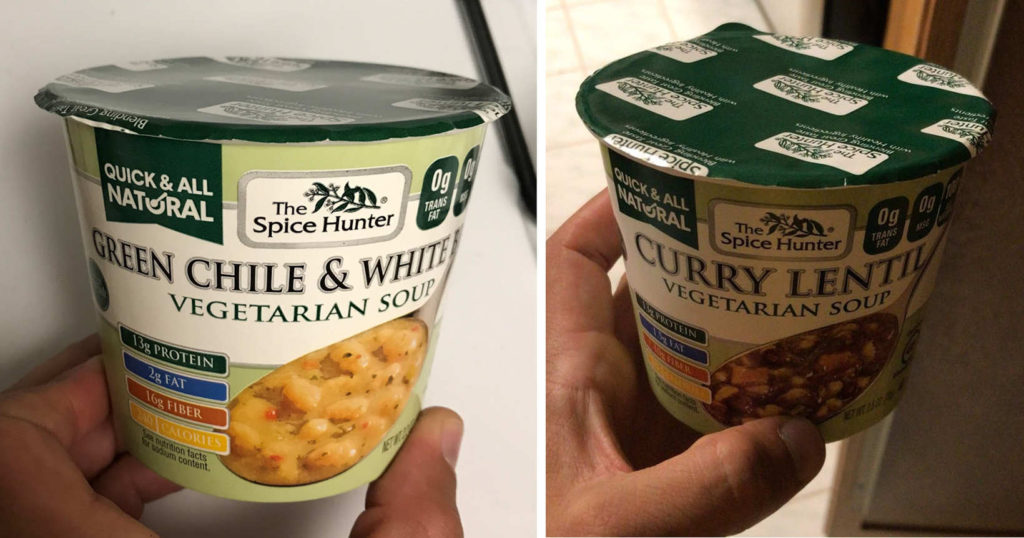
My dry weight for a backpacking meal is 4.5 – 5 oz. So for the simplest version of this dinner I just add as much minute rice to the soup mix as needed to get to that amount. To round up the meal I usually add 1.5 oz of fat. This can either be some sort of oil or (a little more convenient) cheese sticks.
Here an example for a meal on the larger side:
| Ingredient: | Weight in oz: |
| McDoughall Black Bean Soup Mix | 3.4 |
| Minute Rice | 1.5 |
| Cheese Sticks or Oil | 1.5 |
| TOTAL: | 6.4 oz |
The down side of the soup mix cups is that you create (a lot of) trash for a little amount of food.
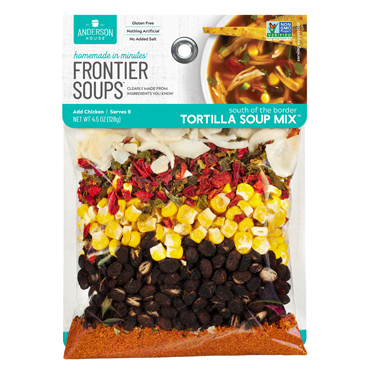
One more option are Anderson House Soup Mixes. I tried it with the Tortilla Soup Mix but there seems to be more options. I got the Tortilla one at Sprouts. The ingredients rehydrate well and it doesn’t take too long but be aware, this mix is not salted and if you just add rice it will taste very bland. If you make a backpacking dinner out of these then add salt and spices and pack some extra plus a little extra oil to add.
Another classic and very easy meal is Beans and Rice. All the ingredients can be found at local grocery stores.
I do not know where this recipe originates from but I got it from Andrew Skurka’s website so he might have created it.
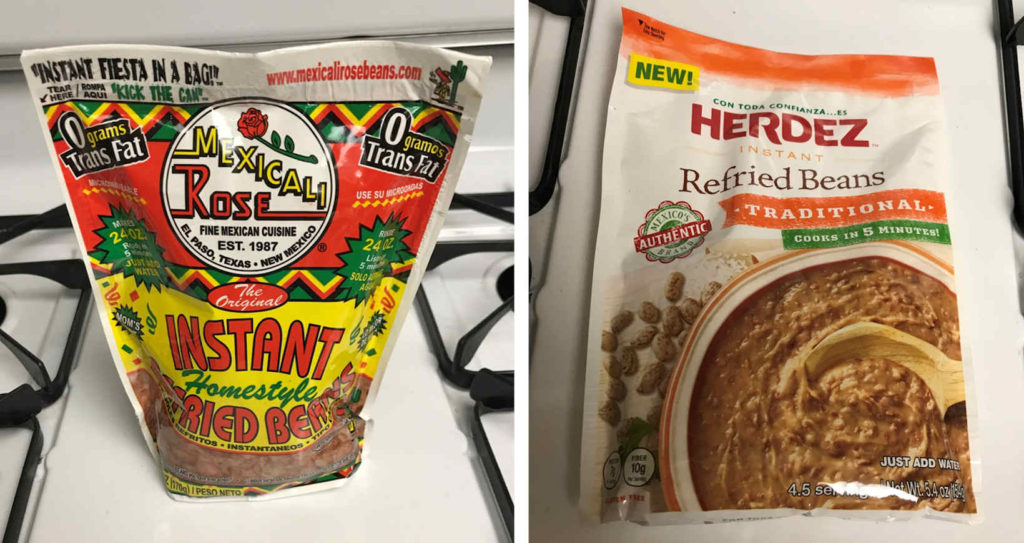
The dehydrated refried beans are available at many local grocery stores (Walmart, Vons, Smart&Final) and so are the Fritos and the Taco Mix. Although I really try to minimize my plastic wrappings, for backpacking I do prefer the cheese sticks. If they get warm and become “sweaty” with oil there is less of a risk of leaking.
Option Nr. 3: Ordered online or home dehydrated ingredients – mixed yourself
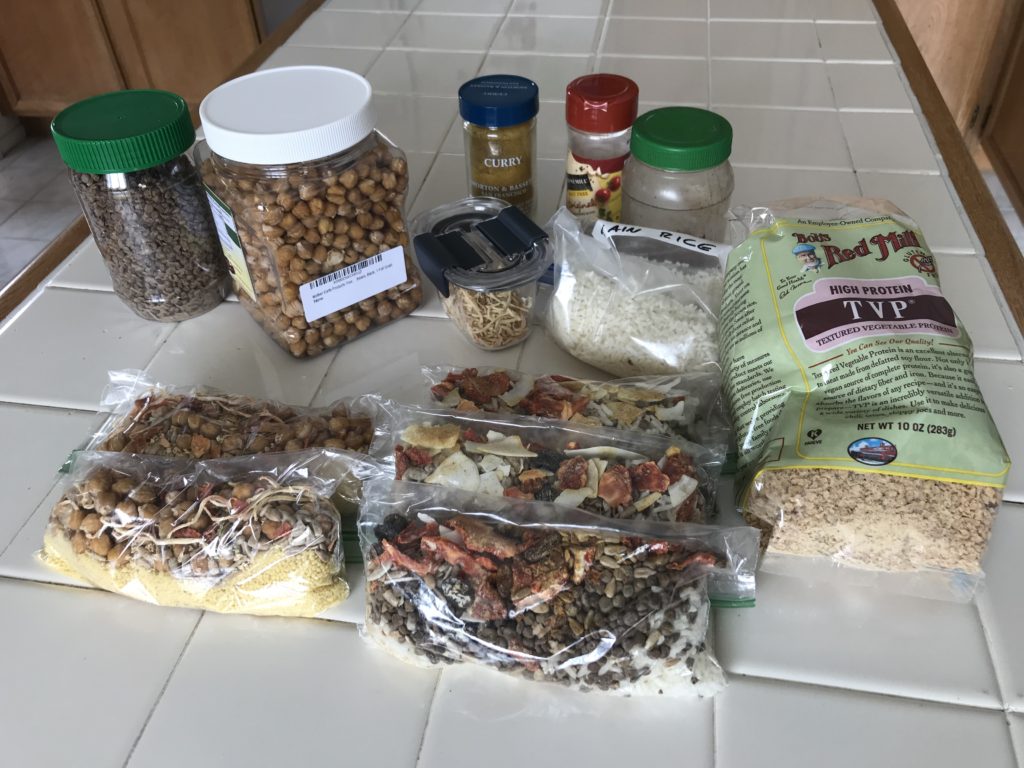
If you go backpacking often or if you are planing a long trip, then making your own backpacking dinners is a really good idea.
When you are preparing a couple of backpacking dinners the getting dehydrated ingredients pays off in multiple ways compared to option Nr2. from above:
- the cost per ounce for your ingredients is less
- you create a lot less trash
- you can choose your flavoring and can forgo any unwanted chemicals or preservatives
- your meal is 100% customizable
- it is very rewarding to make and eat your own meals while backpacking
Making your own dinners takes a bit of time, especially if you choose to dehydrate your own ingredients. Home dehydrating can be fun and is eventually cheaper but it does take a lot of time.
The fact that you can find a lot of dehydrated ingredients online gives you a time saving option. Harmony House Foods for example offers a wide variety.
Now how do you make your meals or what recipes to go by?
You can go completely freestyle and just mix things that you think will go well together and spice it up with the flavors you like. I do that sometimes, especially if I have left over dehydrated foods. But over time I have found a couple of recipe sources that I tweaked to my taste.
This table shows the approximate distribution of ingredients I use:
| Ingredient: | Approx. Weight in oz: |
| Dry Content mostly Carbs (i.e. Rice) | 1.5 |
| Dry Content mostly Protein (i.e. Lentils) | 2.5 |
| Dry Content other (i.e. Bell Pepper) | 0.5 |
| Dry Content flavoring (i.e. Salt, Chilli,..) | < 0.5 |
| Fatty Content (i.e. Coconut Oil) | 1.5 |
| TOTAL: | 6.2 oz |
The Skurka Rice & Beans that I posted above under option Nr.2 is very popular and that for a good reason.
I use two other meal recipes that I have found in Mike Clelland’s book: Ultralight Backpackin’ Tips. Apart from those recipes the book has a couple of other meal prepping ideas. I can’t emphasize enough how much I recommend this book in terms of backpacking and you will find me referencing it all over this website.
Also as mentioned above I recommend Aaron Owens Mayhew’s website: backcountryfoodie.com. Apart from the things I mentioned above in the Breakfast section I think this is the best backpacking food website anywhere online. It incorporates all the aspects of ultralight backpacking and combines it with the knowledge of an experienced dietitian. The result are healthy and well balanced recipes that are fairly easy to make.
Amount of food to bring
There are no definite numbers or answers to how much food you should bring whit you on a trip. First of all, different foods have different amounts of calories. If you want to simplify this point then just try to take foods that have a calorie per ounce ratio of higher than 120 cal/oz. If you can go higher then this might be better but be aware to balance your macro-nutrients. Oil and fat have a high cal/oz ratio but what really gives you energy on the trail are carbohydrates. Proteins will also give you some energy but are more important for your body’s “maintenance” (repairs and growth).
Pack foods with an average calories per ounce ratio of higher than
120 cal/oz
How much food you will eat while adventuring is affected by several things. Different circumstances change your appetite. Some will fire it up while others will hem it.
One extreme will be short high altitude trips in winter. The high altitude and cold temperatures will hem your appetite. I have been on winter weekend trips like this where I didn’t even eat half of the food I had packed.
The other extreme will be low mileage, fair weather trips that last for a week or longer. I realized if I don’t work myself too hard but continuously that my appetite and caloric burn goes up a lot.
To figure out your personal needs takes a little bit of time and experience.
Here is my general rule I go by:
I take a total of 1.5 lbs or less food per day.
So if I go with 1.45 lbs of foods per day then that makes 23.2 oz.
My dinners are pretty set with about 6.2 oz.
So are my breakfasts which are usually 4 oz if its oat meal or a little less if its bars.
This leaves 13 oz for all my snacks.
| Meal: | Weight in oz: |
| Breakfast | 4.0 |
| “Lunch”, Snacks | 13.0 |
| Dinner | 6.3 |
| TOTAL: | 23.3 oz (1.45 lbs) |
I adjust these numbers according to what the trip is gonna look like but I always try to stay on the lower side.
It happens all to often that I take more food than I need and I never went hungry while backpacking.
Again I need to reference Mike Clelland’s book: Ultralight Backpackin’ Tips here. He has figured out a good rule of thumb for food amounts and goes into meal planing detail. The book has additional detailed information on what affects your appetite and food needs plus a lot more food related topics. The food section in this book is so good that you don’t need any other sources of information in my opinion.
Bon Appetit!
